Intermediate Stamping

Intermediate Stamping
After over a decade in the stamping world, I found that many stampers identify themselves by the level of their finished cards. After a beginning stamper has started on their journey, they often start paying more attention to the products other stampers are using on their projects. It is not uncommon to hear beginner stampers say, “Oh! I have that stamp set but I don’t have that punch. Darn!” or “How did you get your sentiment to look shiny like that? Do I need some special tool?”. These types of questions and a million more are normal in your learning journey.
My article, Beginner Stamping, set out the most important products you should start with as a brand-new stamper. However, if you are enjoying your stamping journey and want to step up to the next level, what should you do? The natural step for more attractive projects is to equip yourself with additional techniques and tools. So, in order to guide you, I will present five options to take your stamping to the next level.
Option 1 - Use Punches to add more design interest
Punches are some of the most popular tools in paper crafting. But why have they become so popular?
To begin, they are easy to operate. With a simple squeeze of your fingers you can cut out a shape which would be practically impossible using scissors. Secondly, punches also save you time and give you a consistent, clean shape. Finally, and perhaps most importantly, punches allow creators to add more design interest to their projects.
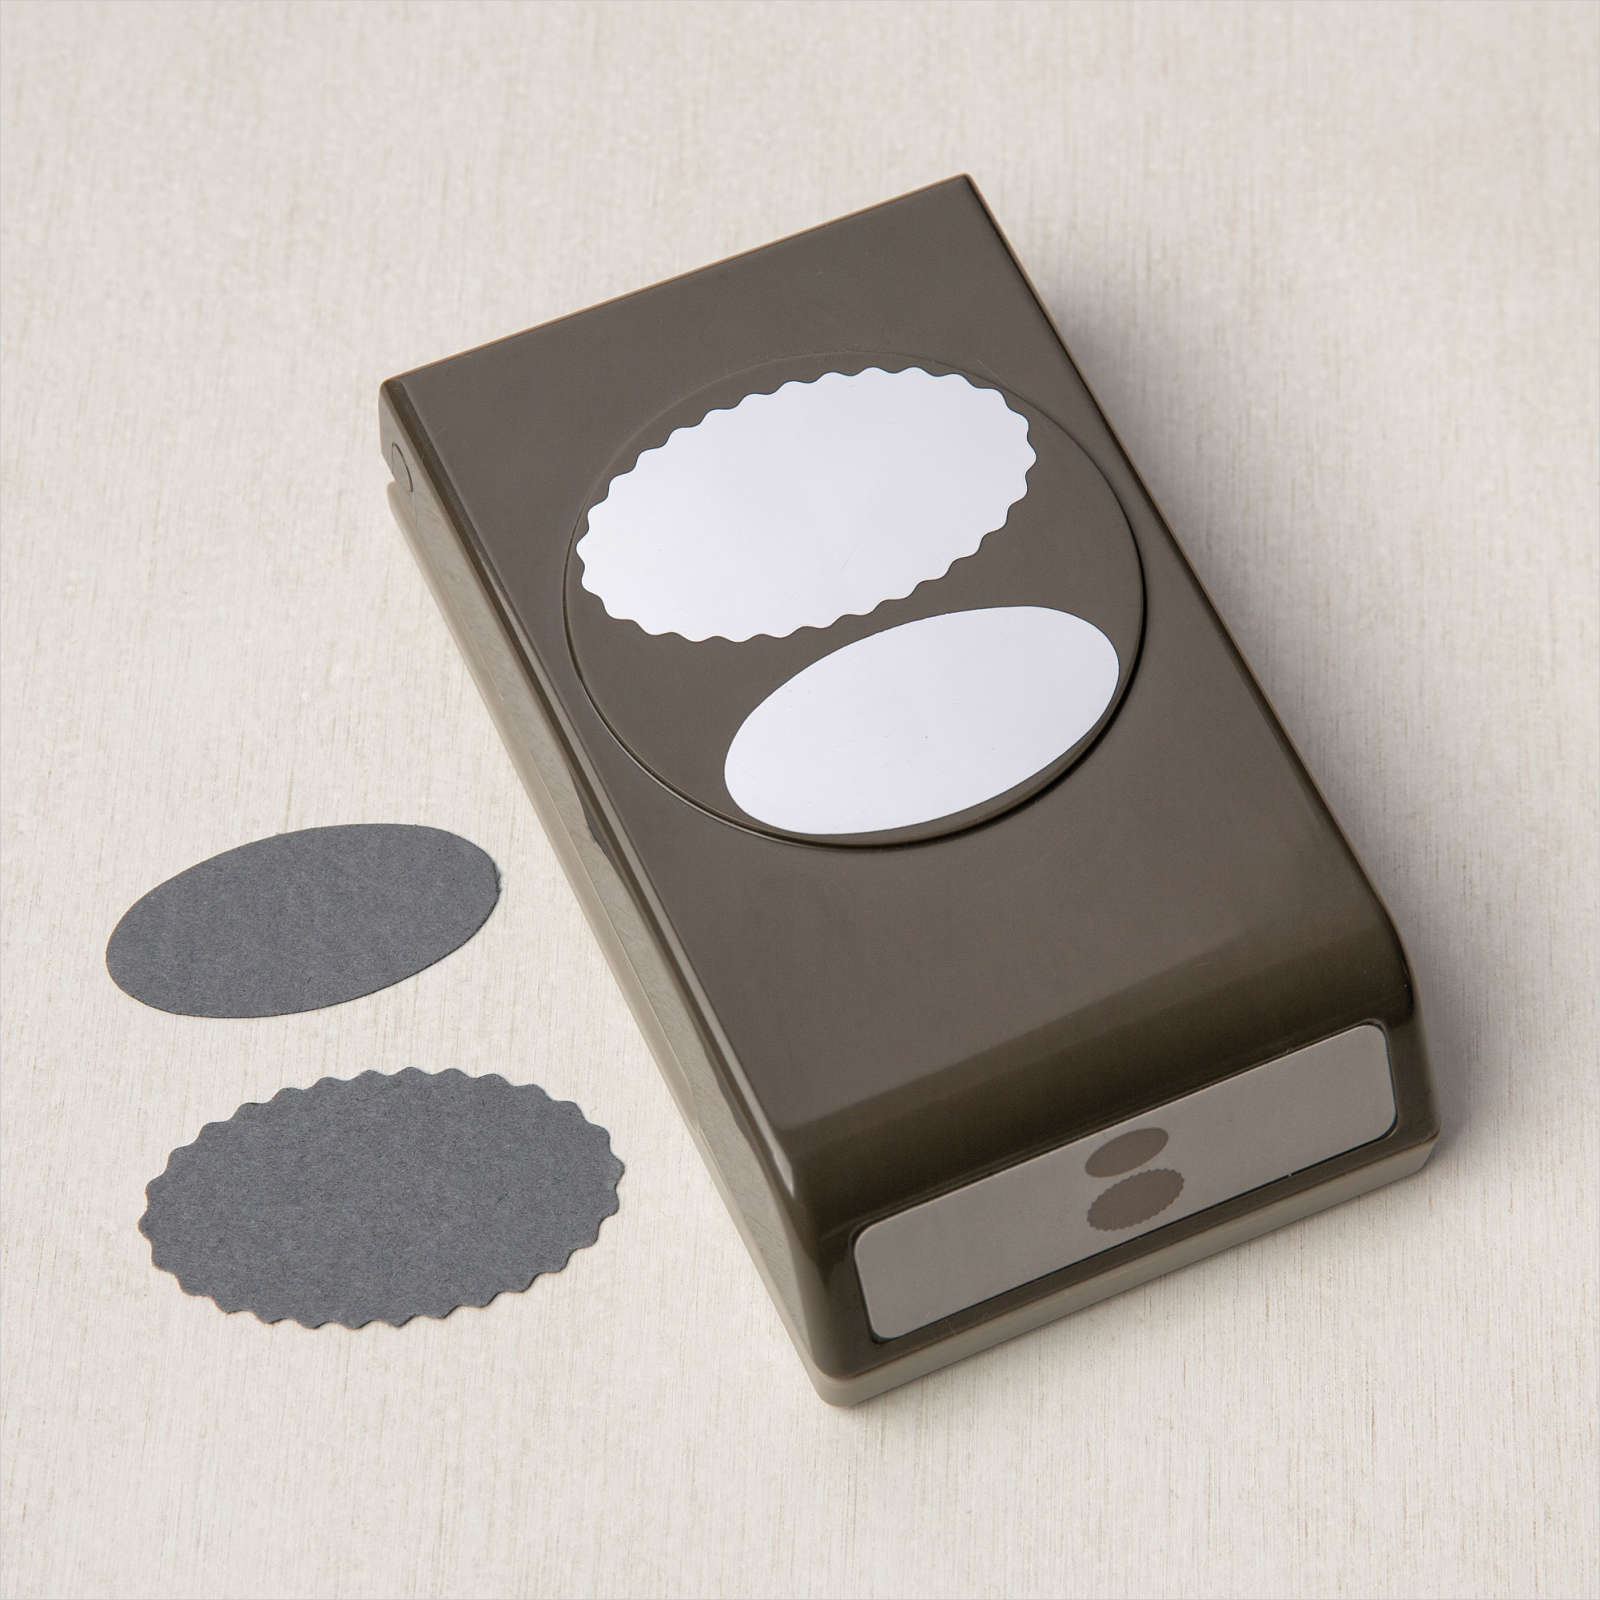
Still, as an experienced stamper, I will be the first to admit that not all punches are created equal. There are plenty of poor performance punches on the market. However, Stampin’ Up! is known for the high quality of punches they offer. I personally started with oval punches similiar to the ones offered in the current catalog and still have the same ones 15 years later! Another big advantage offered by Stampin’ Up! is the bundling of stamps and punches together. They are designed to work together and that takes the guess work out of figuring out which stamps and punches complement each other.
So, what should you start with? Personally, I think that having basic, universal shapes is the way to go. If you are new to punches then I highly recommend the oval punches, which I regularly use. On top of that, I would recommend the Lasting Label punch as a layer to place under the ovals or use on its own.

Option 2 - Add dimension with foam adhesives
Adding some dimension (or popped up layers) to your cards can make a big impact. Luckily for us, popped up layers are easy to create and very attractive. Using foam adhesives, you can transform your flat card stock pieces into touchable layers. I got totally hooked on this concept after first trying it out and I bet you will too.
These adhesives come in different thicknesses, sizes, and quantities. I find many of the products on the market are very thick and, in my opinion, they are too thick to create the subtle layers I desire. I prefer a thinner product simply because it gives me more flexibility. If I want the pop out effect to be more distinct then I can just double up the adhesive foam.
I personally use Stampin’ Up’s Dimensionals, which come in two sizes and colors. They will meet all of your pop-up requirements and can be used on scrapbooks as they are acid free. The below products are tried and true and come with my highest recommendation.
Dimensionals Package 1

Includes:
Stampin' Dimensionals (pictured), Mini Stampin' Dimensionals

Option 3 - Expand your collection of stamps
The saying “variety is the spice of life” definitely applies when it comes to stamping. Most beginning stampers would say they quickly get bored of using the same stamp set all the time. Such a feeling is totally understandable! When you find yourself getting bored with the few stamp sets you have then it is always an option to invest in more.
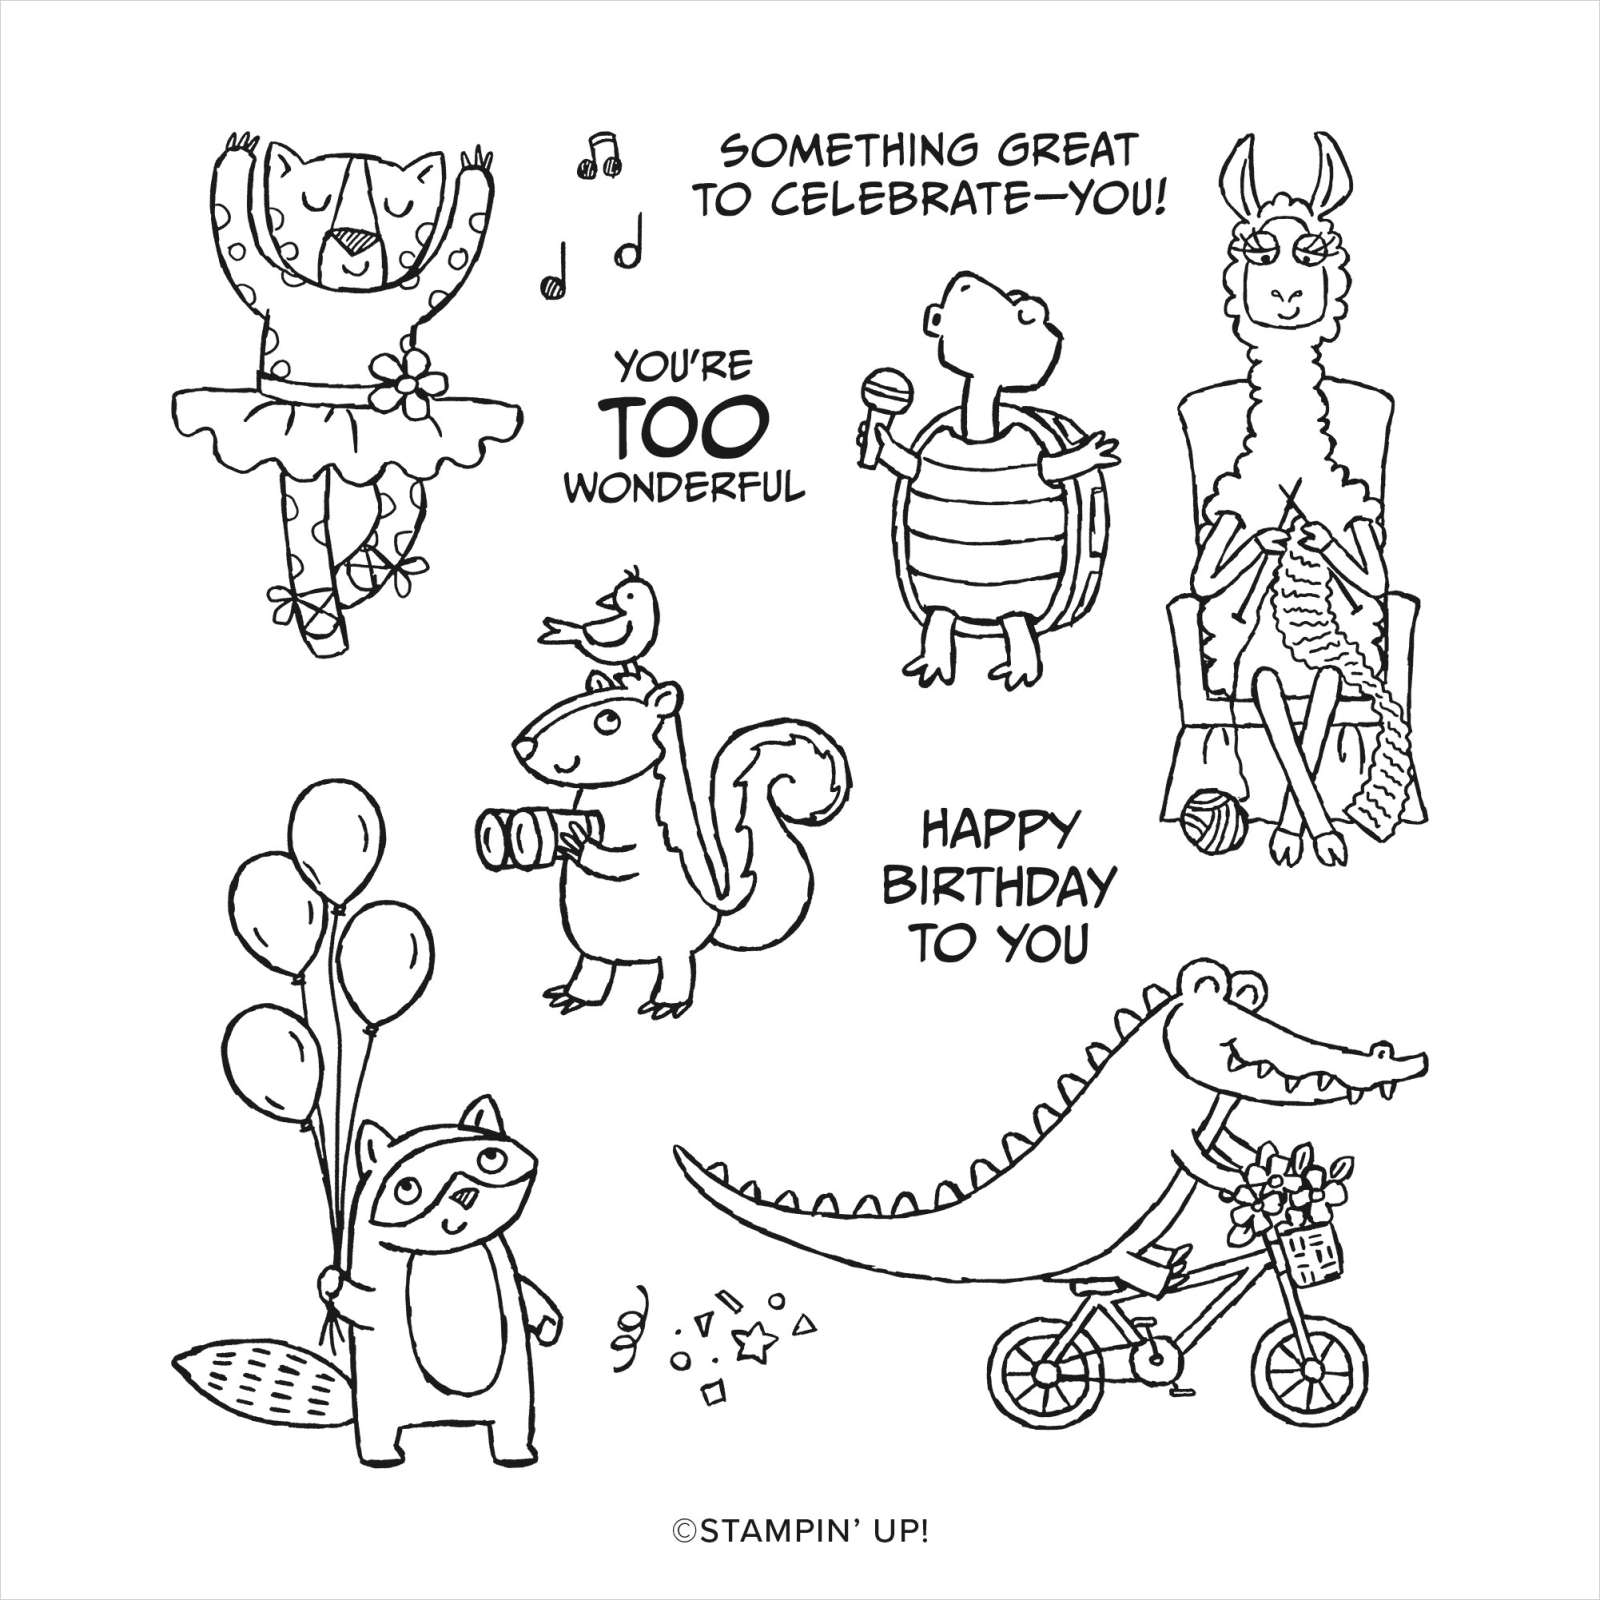
I talked about the best beginner stamps in the Beginner Stamping article. However, to take it to the next level I would simply recommend grabbing some new themes. For example, masculine, juvenile, girlfriends, nature, and of course, holiday images and sentiments.
Some of my favorites (pictured below) include: Gone Fishing, Crafting with You, Zany Zoo, Regal Reindeer, Nature Prints, and By My Side.


Option 4 - Experiment with new techniques
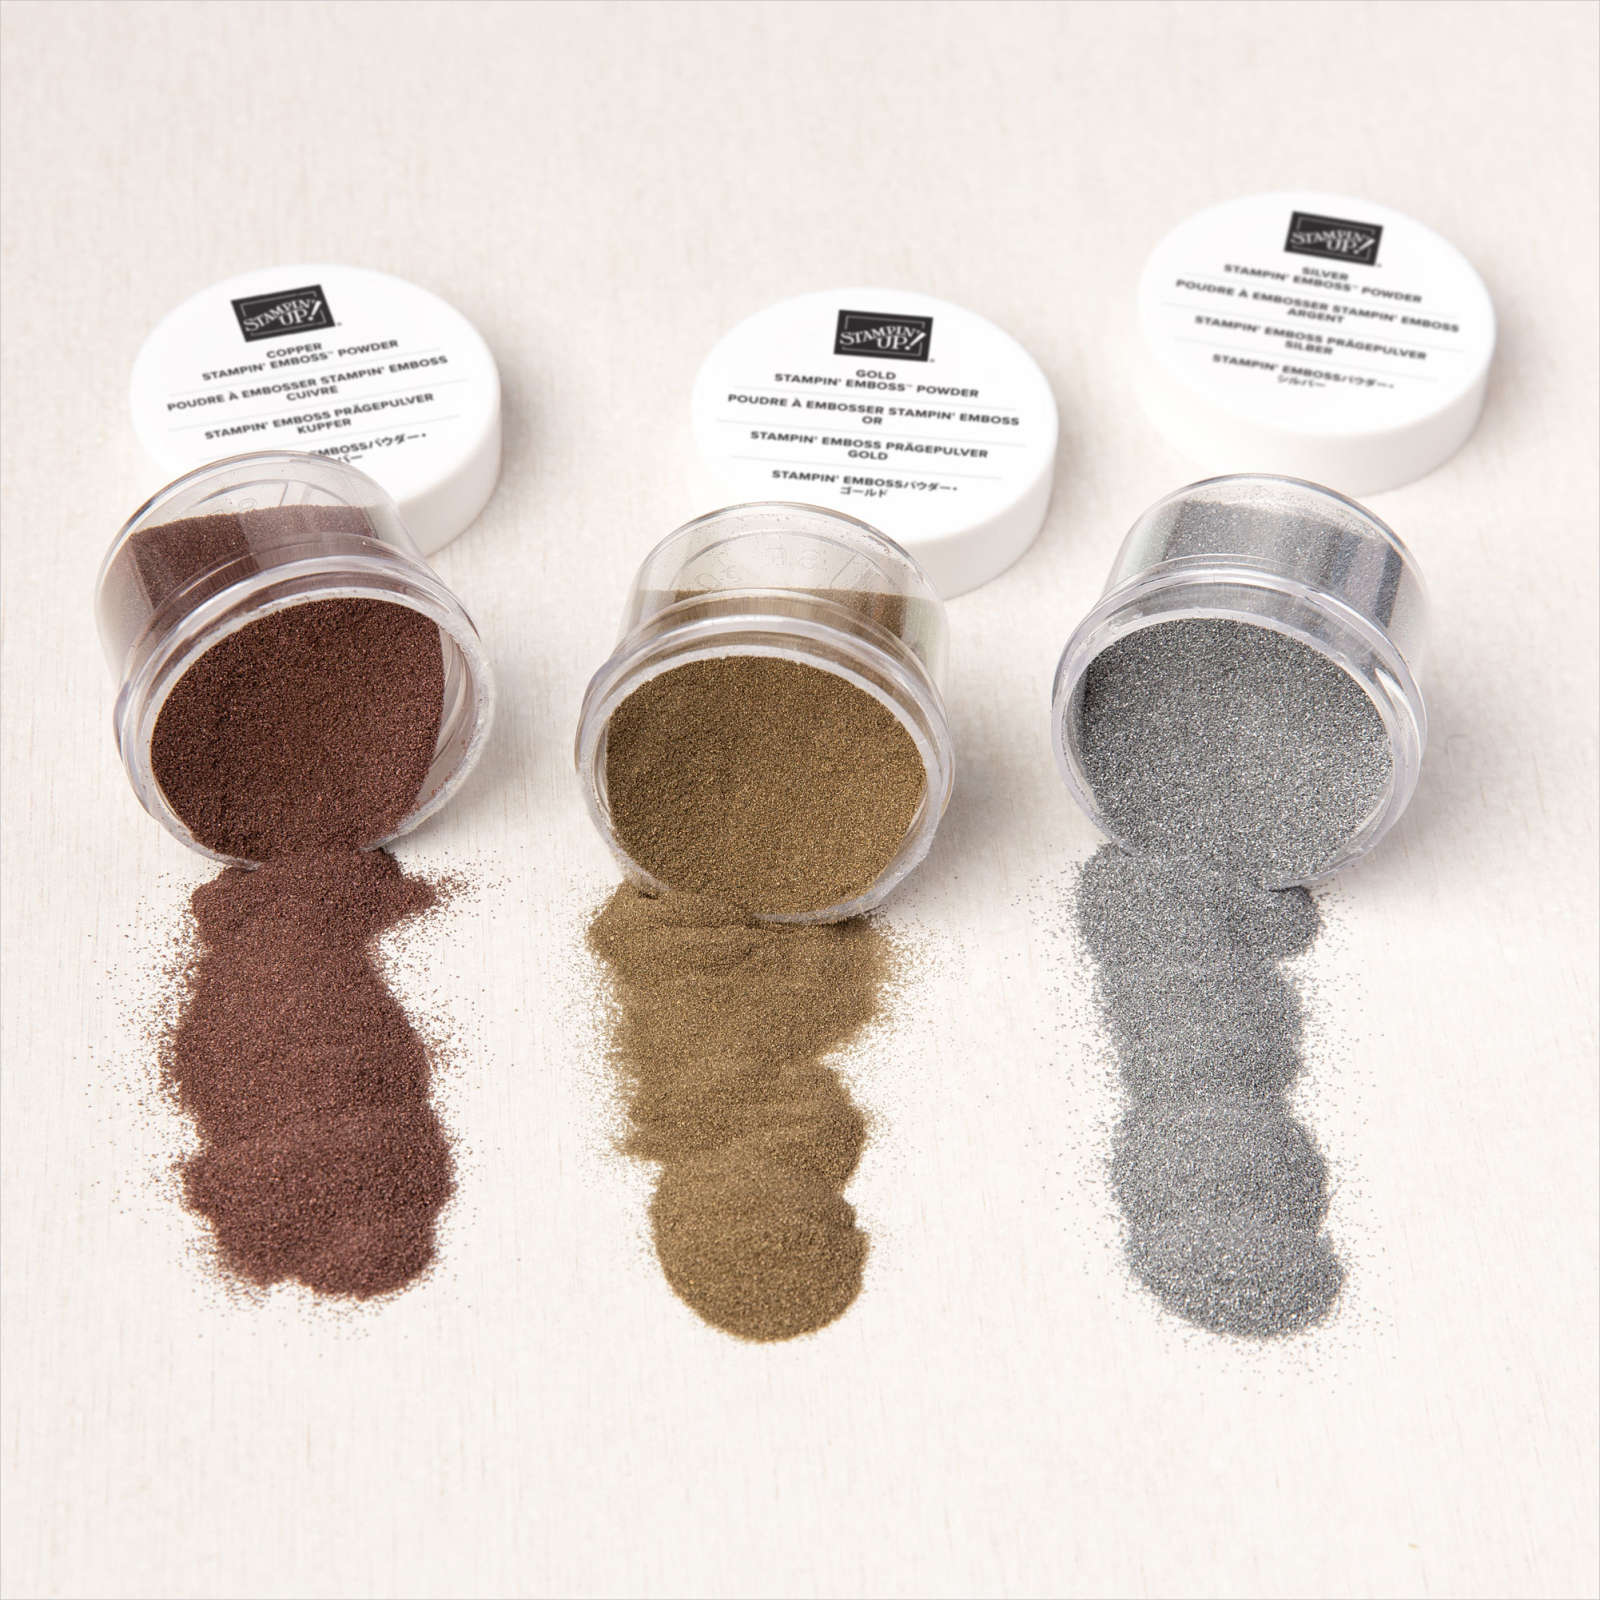
Testing out new techniques helps you identify ways to make more interesting cards. One of the coolest ways to step up the appearance of your cards is by using the embossing technique. When you stamp your image with an embossing ink, sprinkle on embossing powder and then heat, a magical process happens. As the image is heated, the dull looking powder converts and melts the powder to a magnificent shine.
Embossing powder comes in many colors but I mostly use gold and silver. I use the heat tool, which produces the hot air needed to finish the emboss. Do not try to use a hairdryer! It will blow the powder off the card stock!
Embossing Package 1
Includes:
Versamark Pad, Versamark Pad Ink Refill, Heat Tool
+
Metallics embossing powder (pictured).
Embossing Package 2

Includes:
Versamark Pad, Versamark Pad Ink Refill, Heat Tool
+
Basics embossing powder (pictured).
Option 5 - Use coordinated products
Stampin’ Up! does a great job of coordinating their products. This coordination is essential if you desire a more professional looking project. Going from beginner to intermediate is possible just by utilizing products which are meant to go together. These “extra goodies”, as I like to call them, can make a big impact.
Designer Series Paper (DSP)
You have two major options here. First, buy a Designer Series Paper which matches to colored card stock you already have. Alternatively, you can purchase some Designer Series Paper and then buy the paper which coordinates with what you choose. I have made it SUPER EASY for you to purchase coordinated papers in the Designer Series Paper Shop (DSP Shop).
Embellishments
Embellishments are perfect for adding sparkle, shine, and color. They are also act as a way to reduce the empty space on your cards. I can recommend the following self-adhesive products to help step up your cards: Rhinestone Basic Jewels, Pearl Basic Jewels, and Brushed Brass Butterflies.
Ribbon and Trim
Ribbon and trims add color, texture, and tactile interest to your projects. Choose a color that matches your card stock or a neutral to work with multiple colors.
Embellishments Combo

Includes:
Rhinetone Basic Jewels (pictured), Pearl Basic Jewels, Brushed Brass Butterflies
Ribbon & Thread Combo

Includes:
Linen Thread, Whisper White 1/4" Crinkled Seam Binding (pictured)
Closing Thoughts
Knowing how to jump from beginner to intermediate stamping is not so straightforward. However, all of the options I presented here are good for anyone looking to take their stamping to the next level. You can pick just one option, all five, or do a combination of them. Either way, I believe utilizing these options are essential to expanding the crafting journey ahead of you. If you decided to take your stamping to the next level then you are opening up so many more creative options than you ever had before. Finally, if you are having fun while you are learning, then you are not only satisfying something within yourself, but also blessing those that receive your cards.
Keep reading
Are you already an intermediate stamper? Are you ready to climb the peaks of advanced stamping? If so, then come along and join me as I discuss moving from intermediate to advanced stamping in my article, Advanced Stamping. Otherwise, take a few more minutes to explore the other awesome features of this website, like the the Designer Series Paper (DSP) Shop, the Quick Color Shop, the Mini Store, the Quick Order feature, the Value Stamp Sets page, and of course my Tutorials section. Have fun and keep on stamping!
Current Host Code
FWXMRPPT
REMEMBER
Only use the code for orders under $150.00
Clearance Rack
Stampin' Up! always has great deals on their Clearance Rack! Don't forget to check it out!
Shop ClearanceArticles
Is Paper Pumpkin Worth It?Challenge Yourself to Be a Better Stamper
Beginner Stamping
Intermediate Stamping
Advanced Stamping
5 Reasons Why I Love Designer Series Paper
5 Tips Every Stamper Should Know
2023-2024 Annual Catalog

The latest annual catalogue is loaded with beautiful products! If you haven't already, come and check it out!
ExploreRewards
Collect Pam's Stamping Bucks on every qualifying purchase and redeem your bucks for great rewards.
Read MoreJoin My Team
One of the greatest parts about stamping is stamping with others. Join my team and see where Stampin' Up! can take you.
Find Out MoreQuick Color Shop
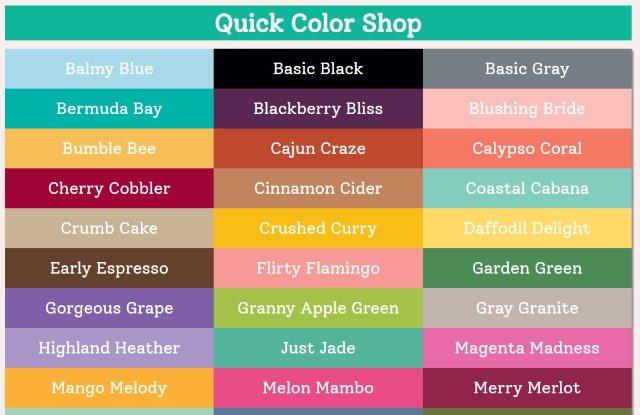
The Quick Color Shop is color coordinated shopping like you have never seen before!
Visit the Quick Color ShopValue Stamp Sets
Explore stamps sets which are $18 or under. Great product for great prices!
Explore Stamp SetsSubscribe

Join my email list to find out my tips, project card measurements and supplies, color coordination, and mini tutorials.
Click here to BeginAbout Pam

"Stamping and showing others creative ideas has been a passion of mine over the last 15 years. I love to see people experience creative growth as they have fun with others." - Pam Strobel
Find Out MoreThe Mini Store
The Mini Store has great product combinations for an easy shopping experience. Come check it out!
Visit the Mini StoreThe DSP Shop
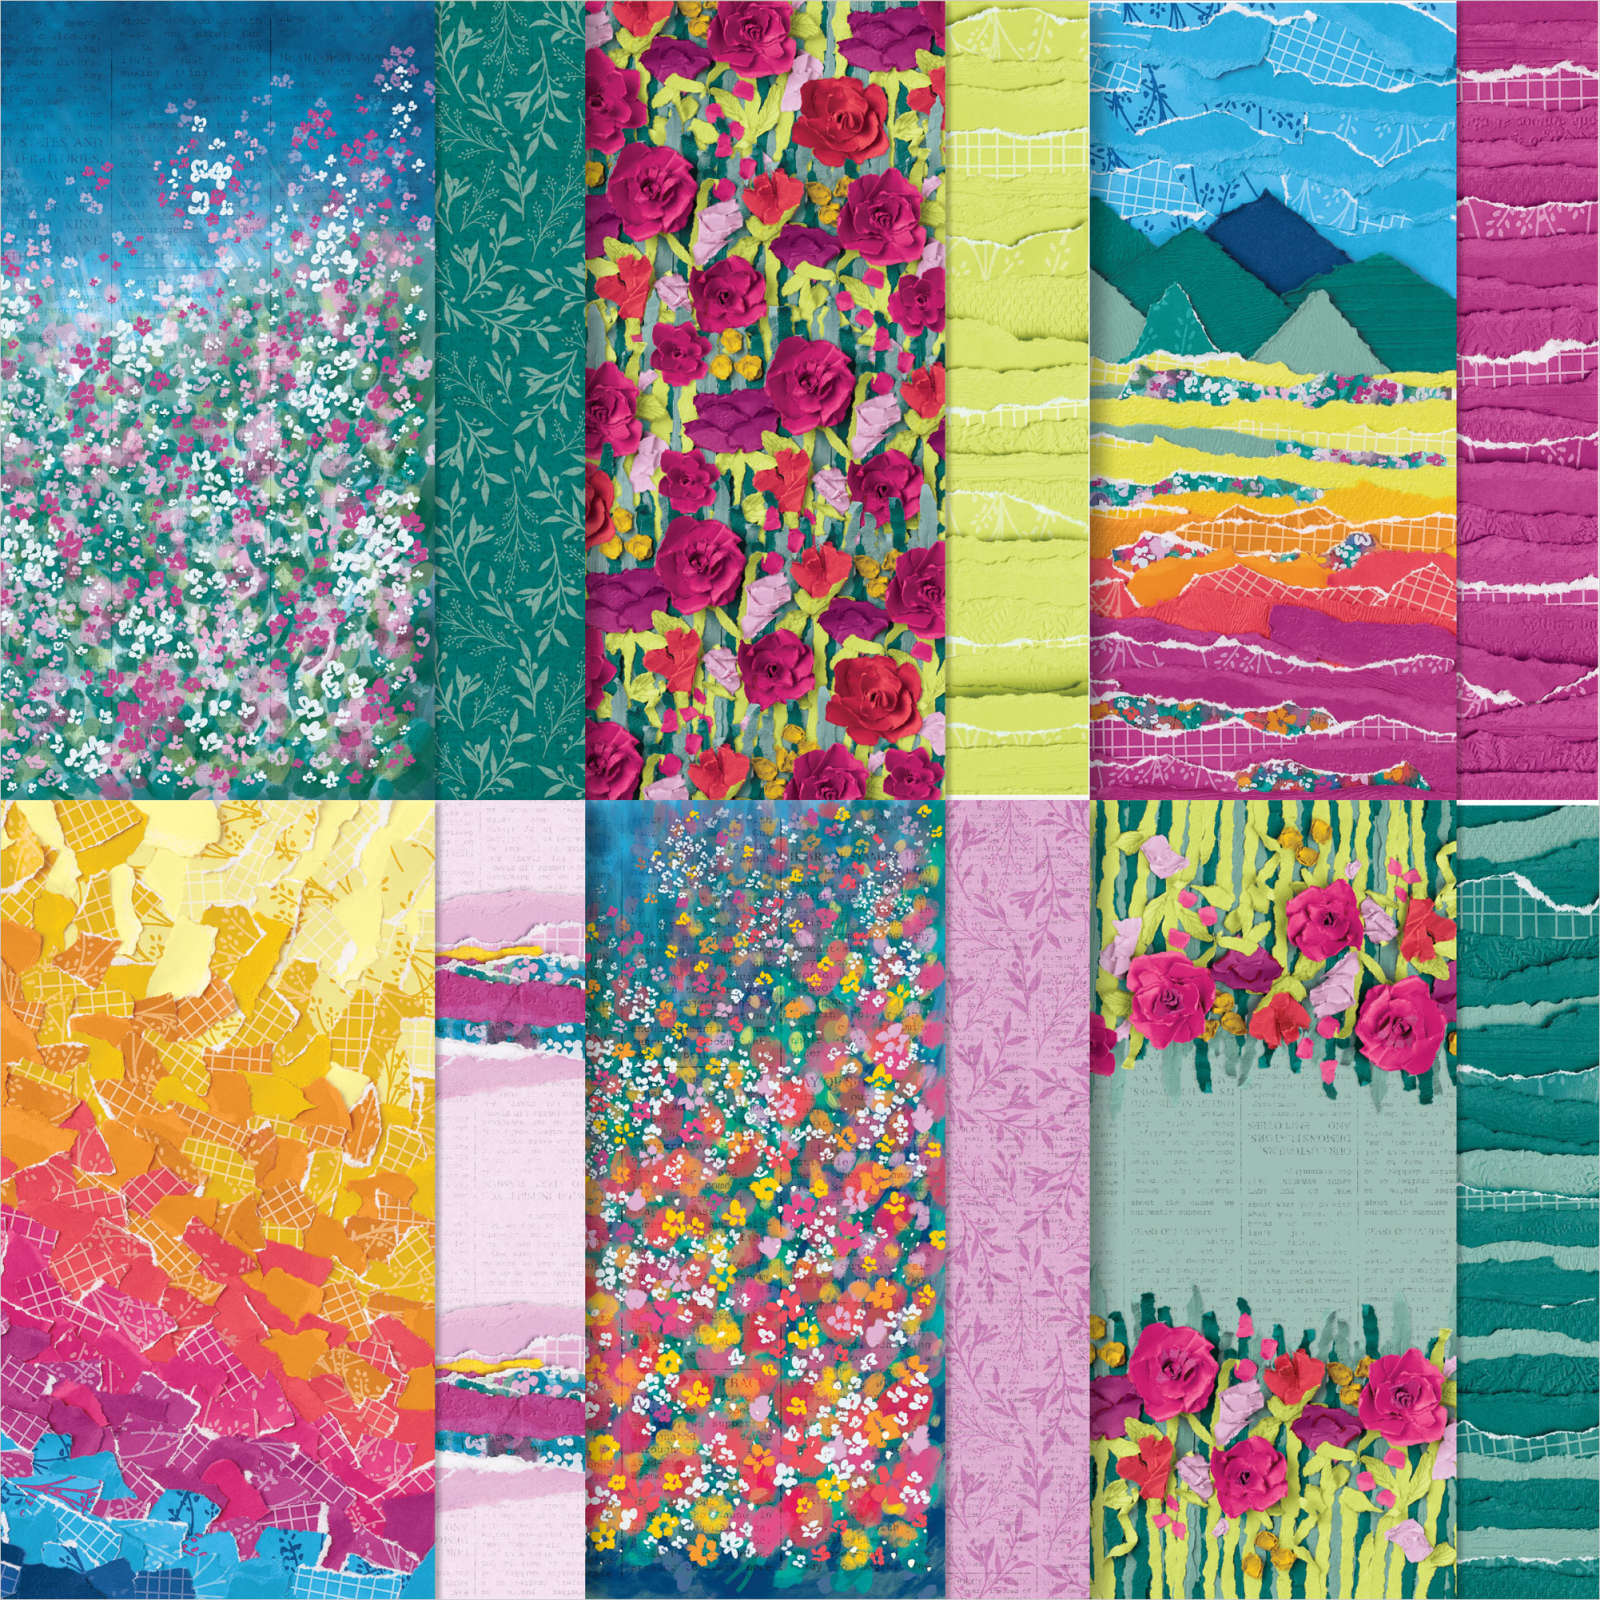
The Designer Series Paper (DSP) Shop combines the best DSPs with their matching card stock. Fun and easy!
Explore DSP ShopLet's Stay Connected
Inspiration Gallery
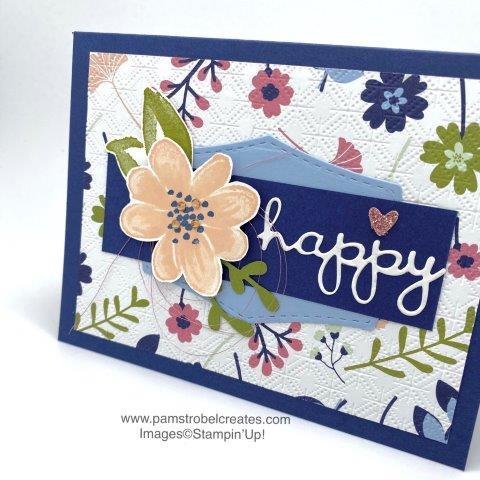
Visit the Inspiration Gallery to see examples of finished cards. You are bound to find something that inspires you!
Get Inspired!