Beginner Stamping

Beginner Stamping
As a new stamper it can be difficult to know where to begin. There are so many products, methods, and ideas available, and it can quickly get overwhelming.
Reflecting on my own journey, which began at my neighbor’s Stampin’ Up! workshop, I was presented with many different options. I eventually found my own way but having a bit more guidance at the beginning would have been very helpful.
What I have found after over 15+ years of stamping is that you don’t need everything in a catalog to get started enjoying the fun of making beautiful handmade cards. However, the quality and color coordination of the products you use can definitely make a difference on the final product.
So, in order to help guide new stampers, I’m going to cover three different options to get you started on your card making journey.
Option 1 – Keep It Easy with Kits
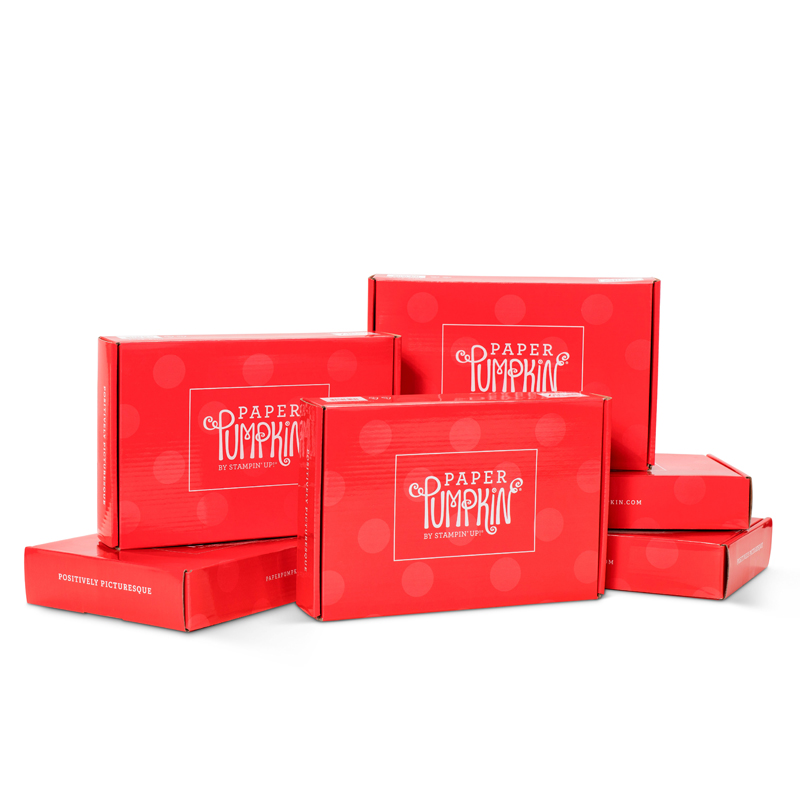
Kits typically include everything you need to make a beautiful set of cards. They contain pre-creased card bases to build a design on, a small stamp set, a small ink square spot (stamp pad) to stamp an image, and pre-printed colorful design layers. Kits often include extra elements like ribbon or twine and pop out pieces to add extra interest to your card. Envelopes are included in the card kits. This is a great option for those with limited space and for those who value portability.
For the beginner, I would highly recommend the All Inclusive Kits. Choose from a wide variety of options designed for different occassions. As a fun alternative, you can also check out Paper Pumpkin, which is a monthly subscription service. You can find those details HERE. If you're undecided, read my article Is Paper Pumpkin Worth It?.

Option 2 - Making your own Note Cards
Making your own Note Cards is not the same as making your own cards (Option 3). Note Cards are smaller in size, more affordable, and come prepared for you. More specifically, this option allows you to use pre-cut / center folded note card bases with included envelopes. The note cards are a finished size of 5” x 3 1/2”.
The main advantage of stamping with Note Cards is that you can purchase the Note Cards and corresponding envelopes together in a package. There is no need to buy your own paper, which requires you to cut and fold to make your cards. Generally, Note Cards are best when you don’t want to invest in all the tools for making your own cards. Personally, I think the small size of the Note Cards make them perfect for “thank you” cards.
Even though Note Cards require a smaller investment in paper (and paper cutting/folding tools), you will still need to purchase inks, sentiments, and a few other accessories. I’ve listed my top recommendations below.
Cards and Envelopes
I recommend the combo pack of Note Cards and envelopes. My go-to products are the Basic White Note Cards and Envelopes and the Very Vanilla Note Cards and Envelopes.
Sentiments
The small sentiments available in the Charming Sentiments stamp set have the perfect scale to work with the smaller note card. There are multiple “All Occasion” sentiments to decorate your card front and envelopes.
Ink
The Classic Stampin’ Spots Assortment is my top recommendation. It includes eight colors and they come in a smaller format than the larger standard ink pads. This makes them easy to store if you are limited on space. The assortment of colors includes: Coastal Cabana, Daffodil Delight, Flirty Flamingo, Gorgeous Grape, Granny Apple Green, Real Red, Shaded Spruce, and Basic Gray. These colors compliment the Charming Sentiments stamp set very well.
Clear Block
You will need a clear acrylic hard block to temporarily attach your sentiment stamp to. Stampin’ Up! offers several size clear blocks to accommodate the diverse size of the stamp. It is important that each stamp image is applied to a block that is not too large or small allowing it to achieve an even stamped image. For the stamp set mentioned above I recommend using the Clear Block B , Clear Block D , and Clear Block E .
Option 3 - Start Making your Own Cards using Essential Products
The final option, making your own cards from product assortments, is perfect for the new stamper that wants to embrace learning a new skill: creating handmade cards. You will need quality card stock, coordinating ink, tools to create clean cut edges, and of course images to stamp. You will also need a high-quality glue that is made for using on card stock. Finally, using good envelopes will make a professional impact even before the recipient opens the card. With all that in mind, below I will present some of the best beginner products in each of these categories.
The Right Tools
Having useful tools saves you time, materials, and potentially a lot of frustration when working on your projects. Below are some of the best beginner tools.
Paper Trimmer
Part of creating a quality card is getting your cut and folded edges straight. Scissors will never be able to cut that long straight line and hand folding paper often results in an amateur look. Straight cuts and straight folds are everywhere in paper crafting and especially in card making. So, if you want to achieve a quality look, then you need a tool which provides that. Hands down, the best tool for accomplishing these straight cuts and folds is the Paper Trimmer .
Stampin’ Up!’s Paper Trimmer was designed by card makers for card and scrapbook makers. It has replaceable cutting blades AND scoring blades. Additionally, it is abundantly marked with useful measurements on the cutter, which make this product an absolute must have for achieving the exact cuts you need for your projects.
Bone Folder
The Bone Folder is a hard-plastic tool that can easily score and make crisp folds on Designer Series Paper and card stock. When you burnish a paper fold with the edge of a bone folder it allows the fold to lay flat again. I use it often when it makes more sense than using the Paper Trimmer scoring portion.
Some product info:
- The Bone Folder is 6" (15.2 cm) in length.
- The surface is sanded smooth and polished and easily glides across cardstock.
- The point on the end can be used to push out folded corners or use on small edges.
Paper Snips Scissors
The Paper Snips Scissors are a staple tool in the paper crafter’s arsenal. They are excellent at cutting all trims/ribbons and their small size is perfect for cutting around small images. First time users are amazed when they use these at my classes. They say, “they [the Paper Snips] cut so easily and are so comfortable to use.” They are absolutely correct! As for myself, they are an essential tool in my craft space and I have more than one pair for stamping time with friends.
Some product info:
- The 2.5" (6.4 cm) blades are made from stainless steel.
- A safety cover for the blades is included.
- Comfort grips means your hands won't get strained as easily.
Adhesives
Card making requires good glues to keep all of the pieces together. Investing in good crafting glue is a MUST!
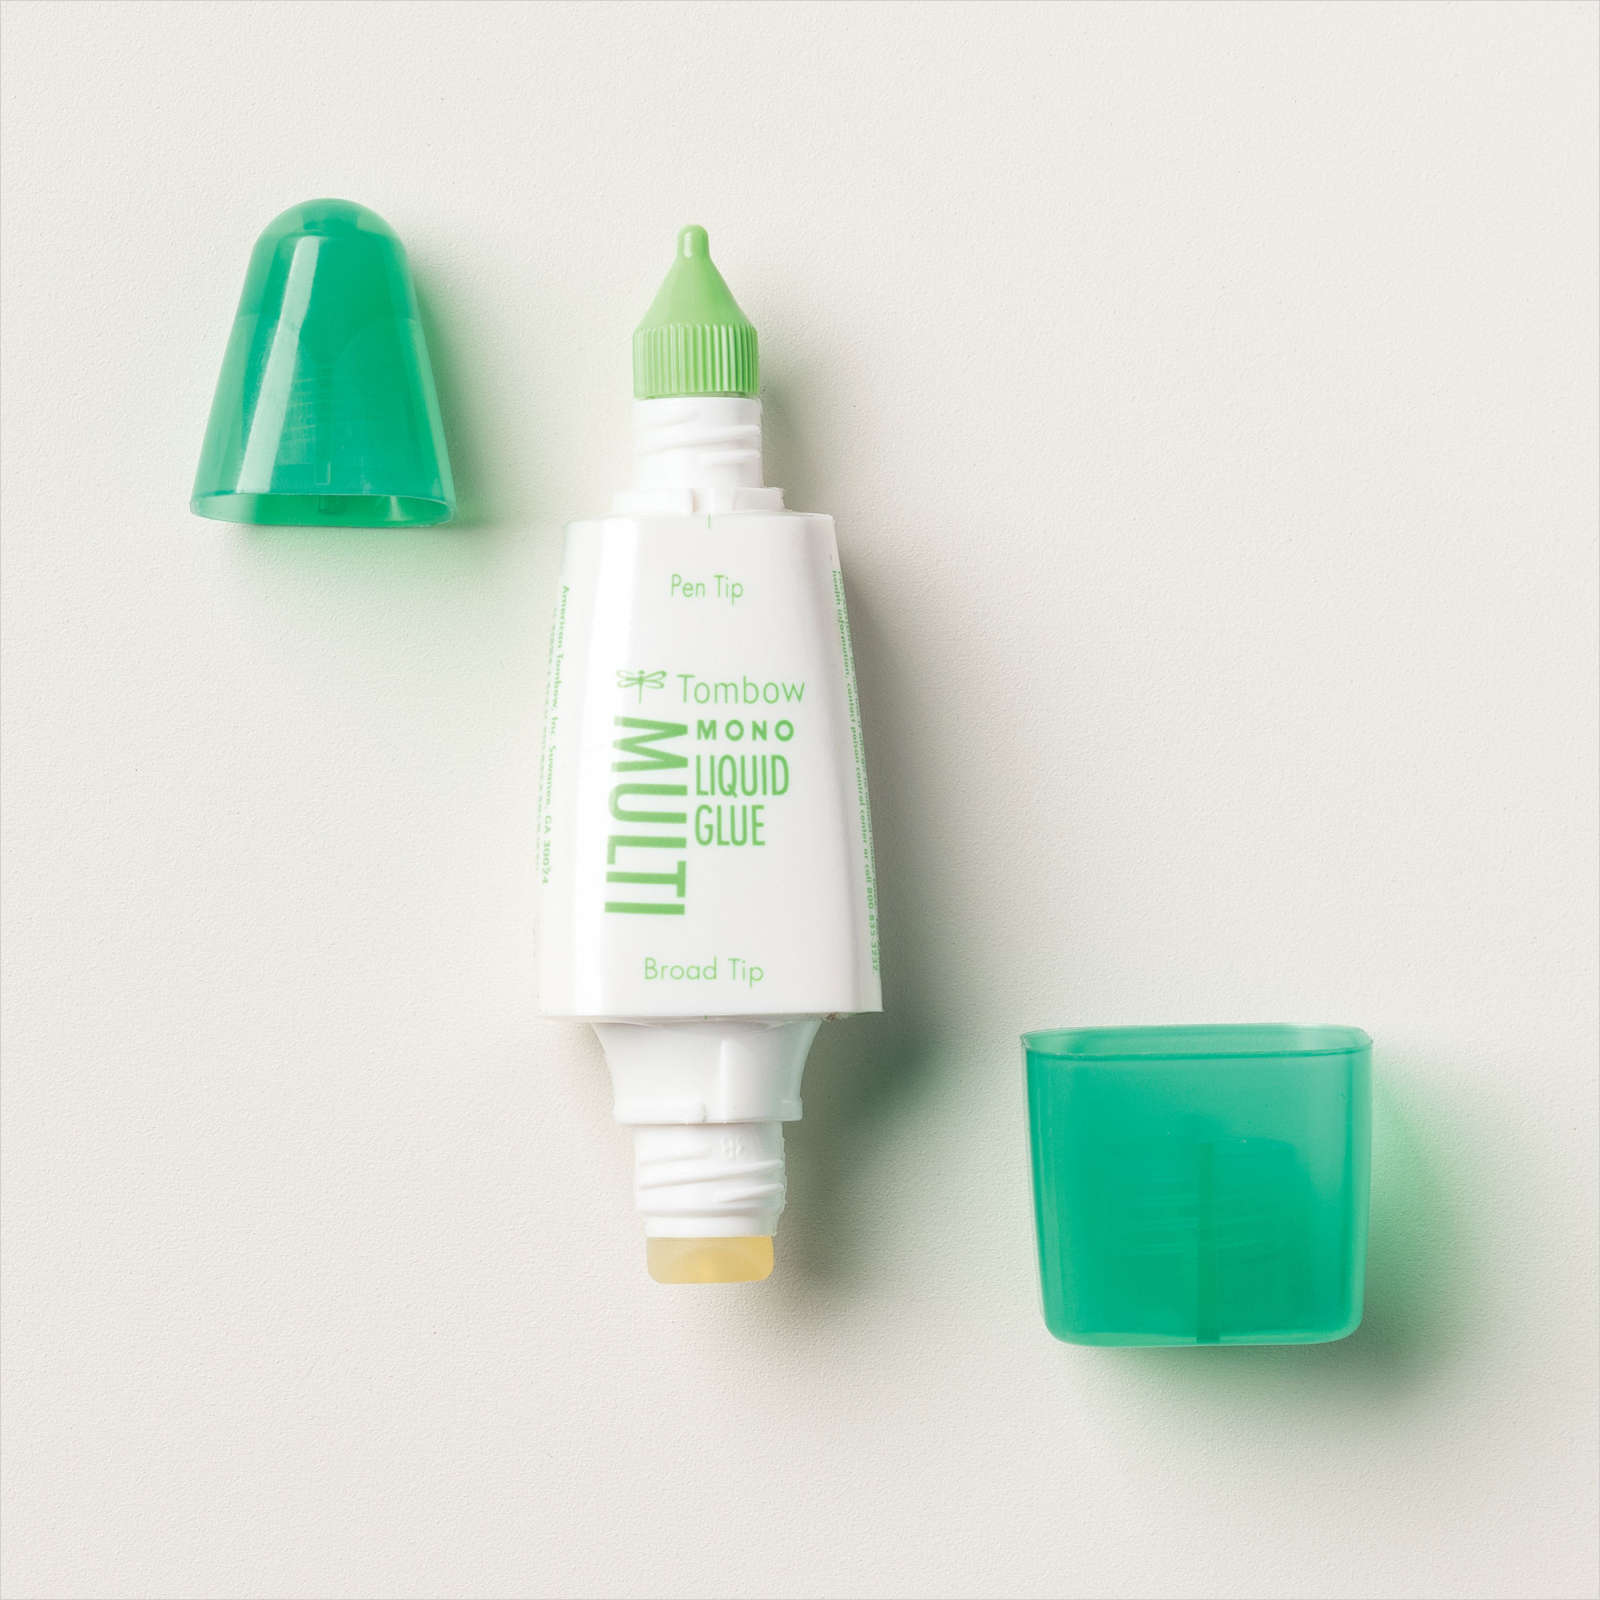
Multipurpose Liquid Glue
The Multipurpose Liquid Glue is my all-time favorite adhesive for my projects. It should be on every card makers “must-have” list, including beginners. Using this glue, you can easily attach multiple layers of paper and adhere small embellishments. You don’t need that much glue for a strong bond and, if necessary, you can reposition your glued piece as it waits to dry.
Included with the glue is both a narrow and broad tip. I personally use the narrow tip 99% of the time, mainly because it works so well with detailed die cut pieces. In contrast to rolling adhesive tape, I know my cards won’t have a layer slip from position or even fall off when sending my project. An additional bonus is that it dries clear and is acid free for scrapbooking.
Card Materials: Sentiments, Paper, Ink, Envelopes, etc.
Sentiments, paper, ink, and envelopes are the raw materials you need to make your original cards. There are so many options, let me walk you through my recommendations for each one.
Sentiments
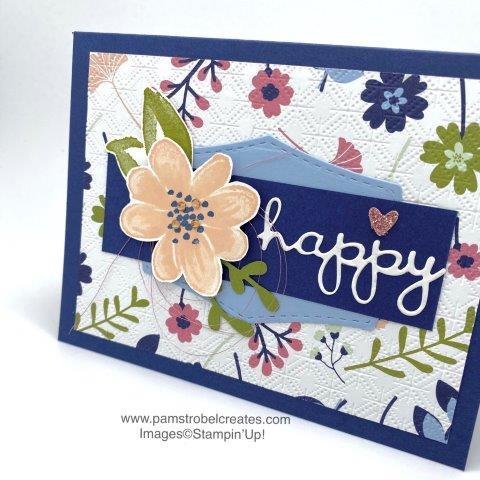
The most popular type of cards for beginners are usually classic sentiments like “Thank You”, “Happy Birthday”, “Sending Sympathy” and “Thinking of You”. I highly suggest purchasing a great sentiment set that includes all of these and more. My top recommendation is definitely the Charming Sentiments stamp set, which includes sentiments like “Congratulations”, “Happy Birthday”, etc.
If you would like additional design on your card a small set with flower images may fit the bill. It’s easy to stamp pretty colored flowers and leaves around your sentiment. A starter set I recommend is the Bold Boquet.
Clear Block
You will need a clear acrylic hard block to temporarily attach your sentiment stamps to. Stampin’ Up! offers several size clear blocks to accommodate the diverse sizes of the stamps. It is important that each stamp image is attached to a block that is the right fit (not too large or too small) to ensure ease of use and storage. For the stamp set mentioned above I recommend using Clear Block C and Clear Block H .
Paper (8 1/2" X 11”)
The quality of card stock that you use has a big effect on how your cards will look, open, and stand up. When I first started creating cards, I was in the dark about the importance of paper weight. If the paper is too heavy then scoring and folding becomes a challenge. If the paper is too light then it can feel cheap and flimsy. Luckily for us, Stampin’ Up! has a lot of experience in this area and their card stock is easy to score and fold, yet still stays crisp enough to stand up on its own.
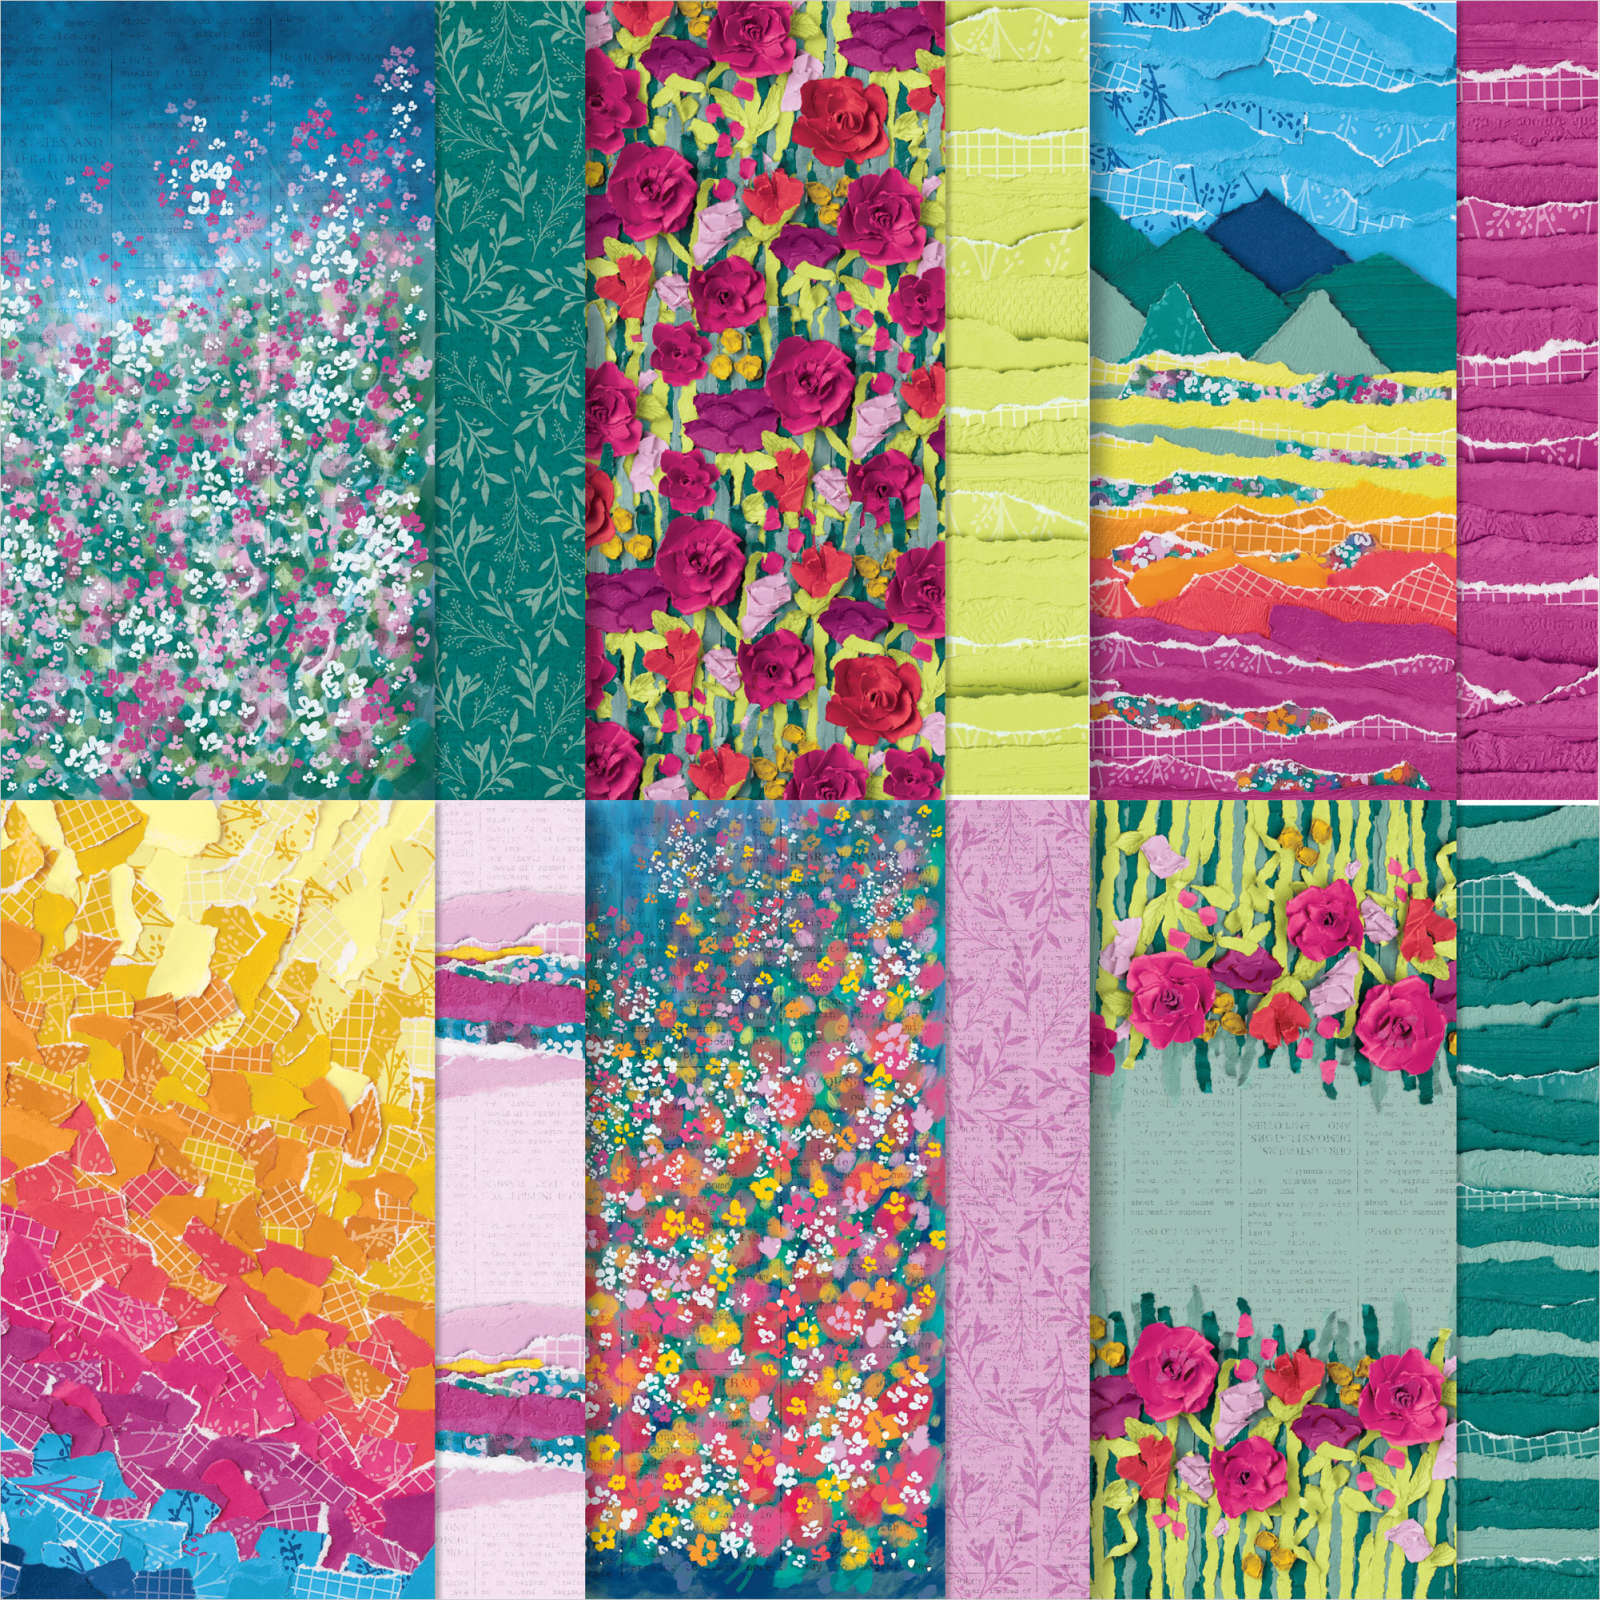
For beginning stampers, I suggest one neutral pack of paper, either Basic White or Very Vanilla, and then investing in a sampler pack of one of the color families. The Brights Collection is highly recommended because it comes with ten vivid colors of paper: Bermuda Bay, Coastal Cabana, Daffodil Delight, Flirty Flamingo, Granny Apple Green, Gorgeous Grape, Mango Melody, Melon Mambo, Pacific Point, and Poppy Parade.
Ink
If you decided to purchase the Brights Collection cardstock then it is best to coordinate them with the Classic Stampin’ Spots Assortment. This assortment includes eight colors, of which five (Coastal Cabana, Daffodil Delight, Flirty Flamingo, Granny Apple Green, and Gorgeous Grape) perfectly color coordinate with the Brights Collection cardstock. They are in a smaller format than the standard larger ink pads and this makes them great for new stampers.
Ink Removal
It is important to remove the ink from your stamps when you are done. Keeping your stamps clean extends their life and makes cleaning up a whole lot easier. Sure, there are other methods available to clean your stamps and, if we’re being honest, I was also asking myself at the beginning if I really needed this product. However, since I started using the Simply Shammy, I have been won over for good. For the price and utility this little cloth provides, it should definitely be considered an essential beginners product.
Envelopes
The final touch to a great card is packing it into a quality envelope. It is funny to think that an envelope can make a first impression, but it can! Think about it...you just used high quality products to make your card, so why wouldn’t you also want to package it in high quality envelopes! Stampin’ Up! offers both Basic White Medium Envelopes and Very Vanilla Medium Envelopes envelopes, giving you the ability to match the neutral you used on your finished card. These envelopes are high quality, smooth to the touch, and easy to write on. If you choose to stamp a design on your envelope, the smooth surface sets you up for a crisp and even stamped image. What a great first impression! The envelopes are made to fit standard cards 5 3/4” x 4 3/8” and come in a quantity of 40 per package.
Closing Thoughts
If you are new to the Stampin’ Up! world then I hope you found this article helpful. There are so many ways you can approach your stamping journey and getting lost at the beginning is all too easy. However, the three main paths discussed here (Kits, Note Cards, and Custom Cards) are all legitimate directions you can go in. For Custom Cards especially, I took the time to highlight the most useful products for beginners, which I believe are essential to starting the crafting journey off on the right foot.
If you think you’re already beyond the beginner level then please check out my other articles on Intermediate Stamping and Advanced Stamping. And don’t forget to check out all the other awesome features of my website, such as the Designer Series Paper (DSP) Shop, the Value Stamp Sets page, the Quick Color Shop, the Mini Store, the Quick Order feature, and of course my Tutorials section. Enjoy your visit and keep on stamping!
Current Host Code
FWXMRPPT
REMEMBER
Only use the code for orders under $150.00
Articles
Is Paper Pumpkin Worth It?Challenge Yourself to Be a Better Stamper
Beginner Stamping
Intermediate Stamping
Advanced Stamping
5 Reasons Why I Love Designer Series Paper
5 Tips Every Stamper Should Know
2023-2024 Annual Catalog

The latest annual catalogue is loaded with beautiful products! If you haven't already, come and check it out!
ExploreRewards
Collect Pam's Stamping Bucks on every qualifying purchase and redeem your bucks for great rewards.
Read MoreQuick Color Shop
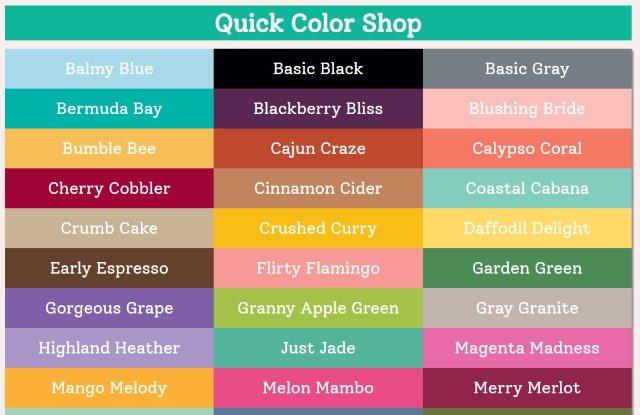
The Quick Color Shop is color coordinated shopping like you have never seen before!
Visit the Quick Color ShopClearance Rack
Stampin' Up! always has great deals on their Clearance Rack! Don't forget to check it out!
Shop ClearanceJoin My Team
One of the greatest parts about stamping is stamping with others. Join my team and see where Stampin' Up! can take you.
Find Out MoreSubscribe

Join my email list to find out my tips, project card measurements and supplies, color coordination, and mini tutorials.
Click here to BeginAbout Pam

"Stamping and showing others creative ideas has been a passion of mine over the last 15 years. I love to see people experience creative growth as they have fun with others." - Pam Strobel
Find Out MoreLet's Stay Connected
Paper Pumpkin
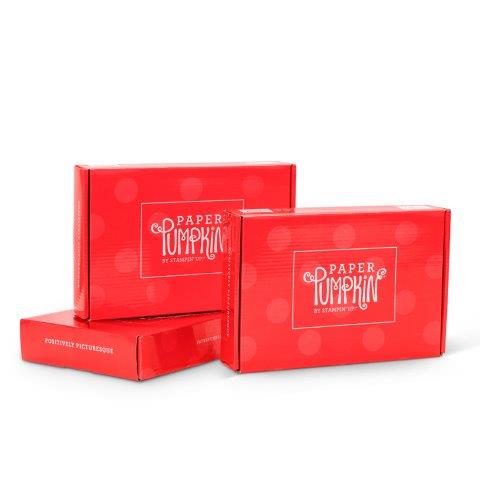
Subscribe to Paper Pumpkin, a monthly card making kit delivered right to your door.
Find Out MoreThe Mini Store
The Mini Store has great product combinations for an easy shopping experience. Come check it out!
Visit the Mini StoreInspiration Gallery
Visit the Inspiration Gallery to see examples of finished cards. You are bound to find something that inspires you!
Get Inspired!Value Stamp Sets
Explore stamps sets which are $18 or under. Great product for great prices!
Explore Stamp SetsThe DSP Shop
The Designer Series Paper (DSP) Shop combines the best DSPs with their matching card stock. Fun and easy!
Explore DSP ShopCard Tutorials
The Card Tutorials page has multiple card tutorials with three different levels: Simple, Step Up, and Avid.
Visit Card Tutorials