Tutorial - Sweet Ice Cream
Go back to Card Tutorials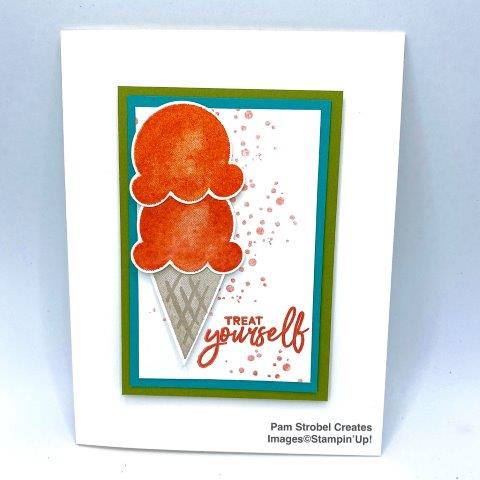
Click Simple, Step Up, or Avid buttons to change the card tutorial.
What Pam Says
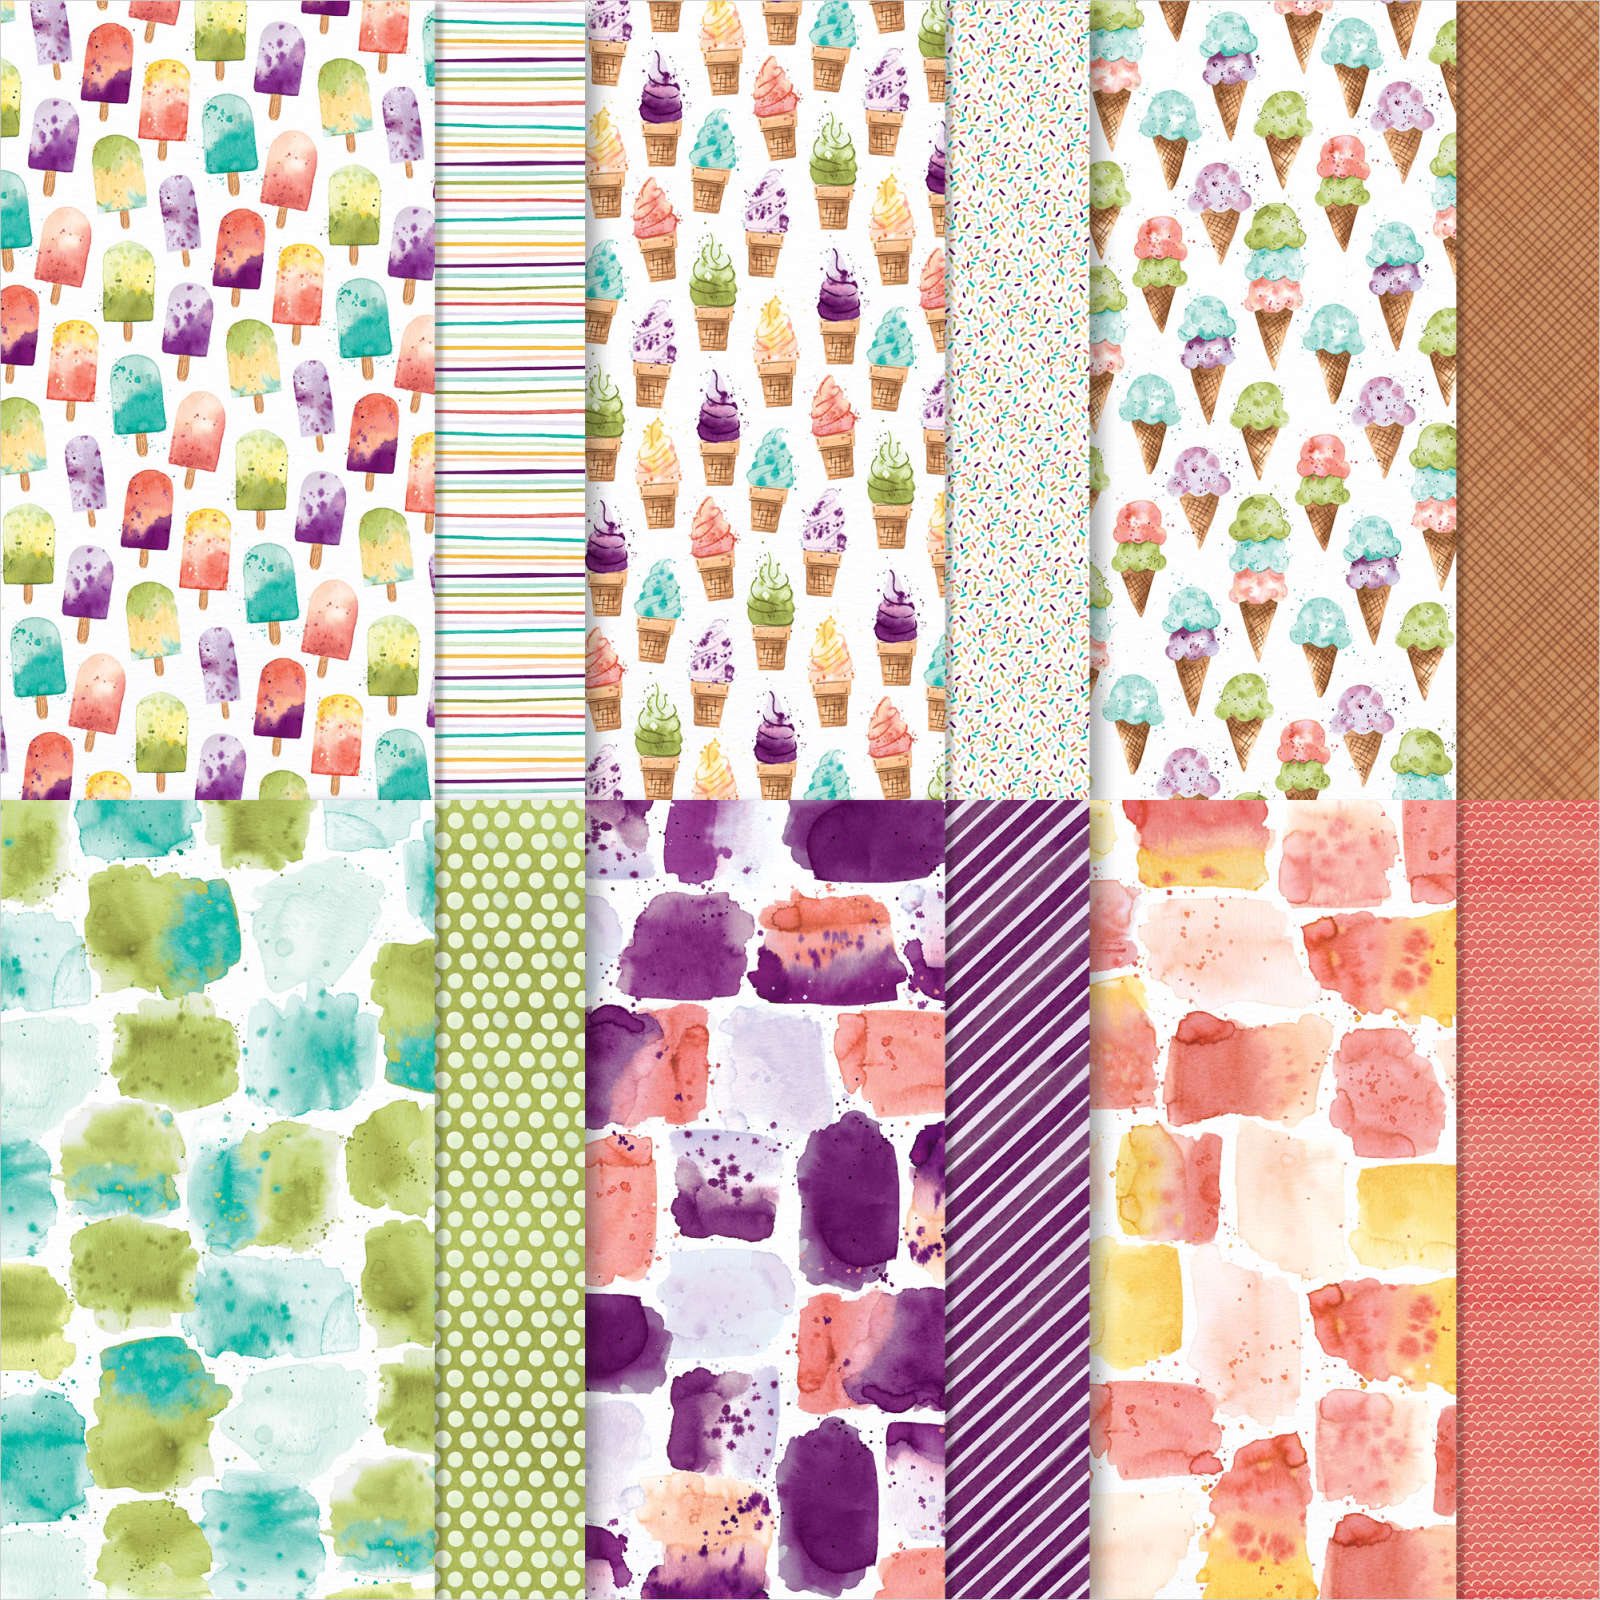
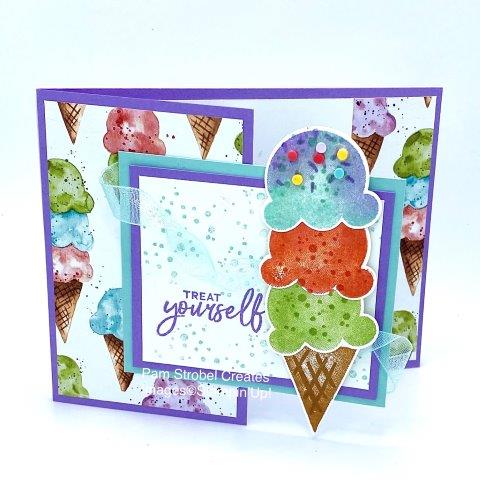
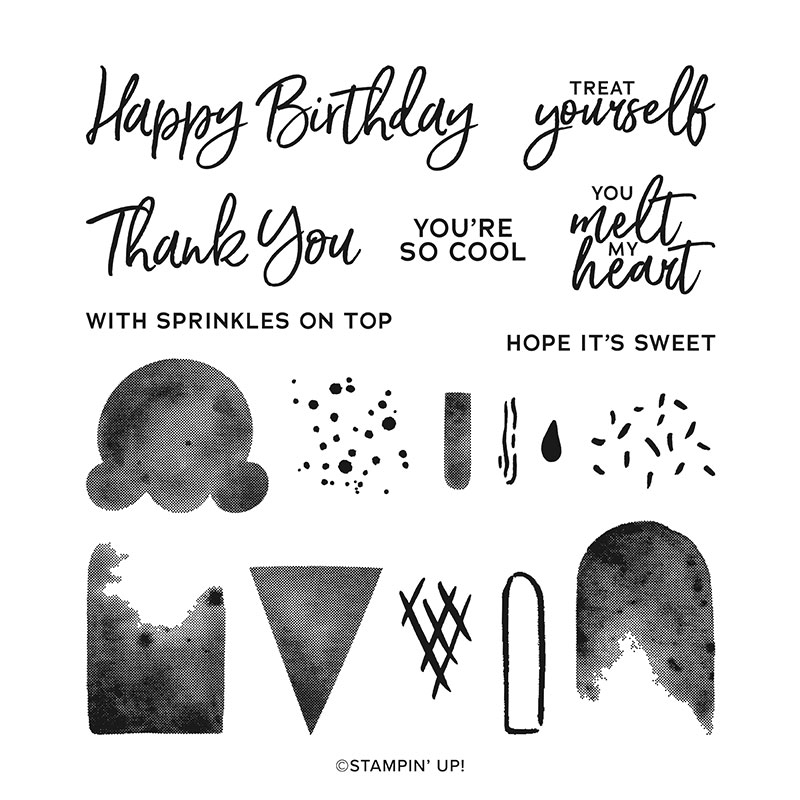
One thing I really like about this stamp set is that you can stack ice cream flavors (scoops) on top of each other. Additionally, the Ice Cream Corner Designer Series Paper goes perfectly along with it. Treat yourself!
Instructions - Simple
You can find the full Simple tutorial below but if you prefer to download and print a FREE PDF version you can click HERE.

1) Cut a Thick Basic White card base measuring 8 ½” x 5 ½” , score and fold at 4 ¼” on the 8 ½” side. Cut an Old Olive layer 4” x 2 ¾”. Cut a Bermuda Bay layer 3 ¾” x 2 ½”. Cut 1 white panel 3 ½” x 2 ¼” and 3 pieces 2 ¼” x 2 1/4”.

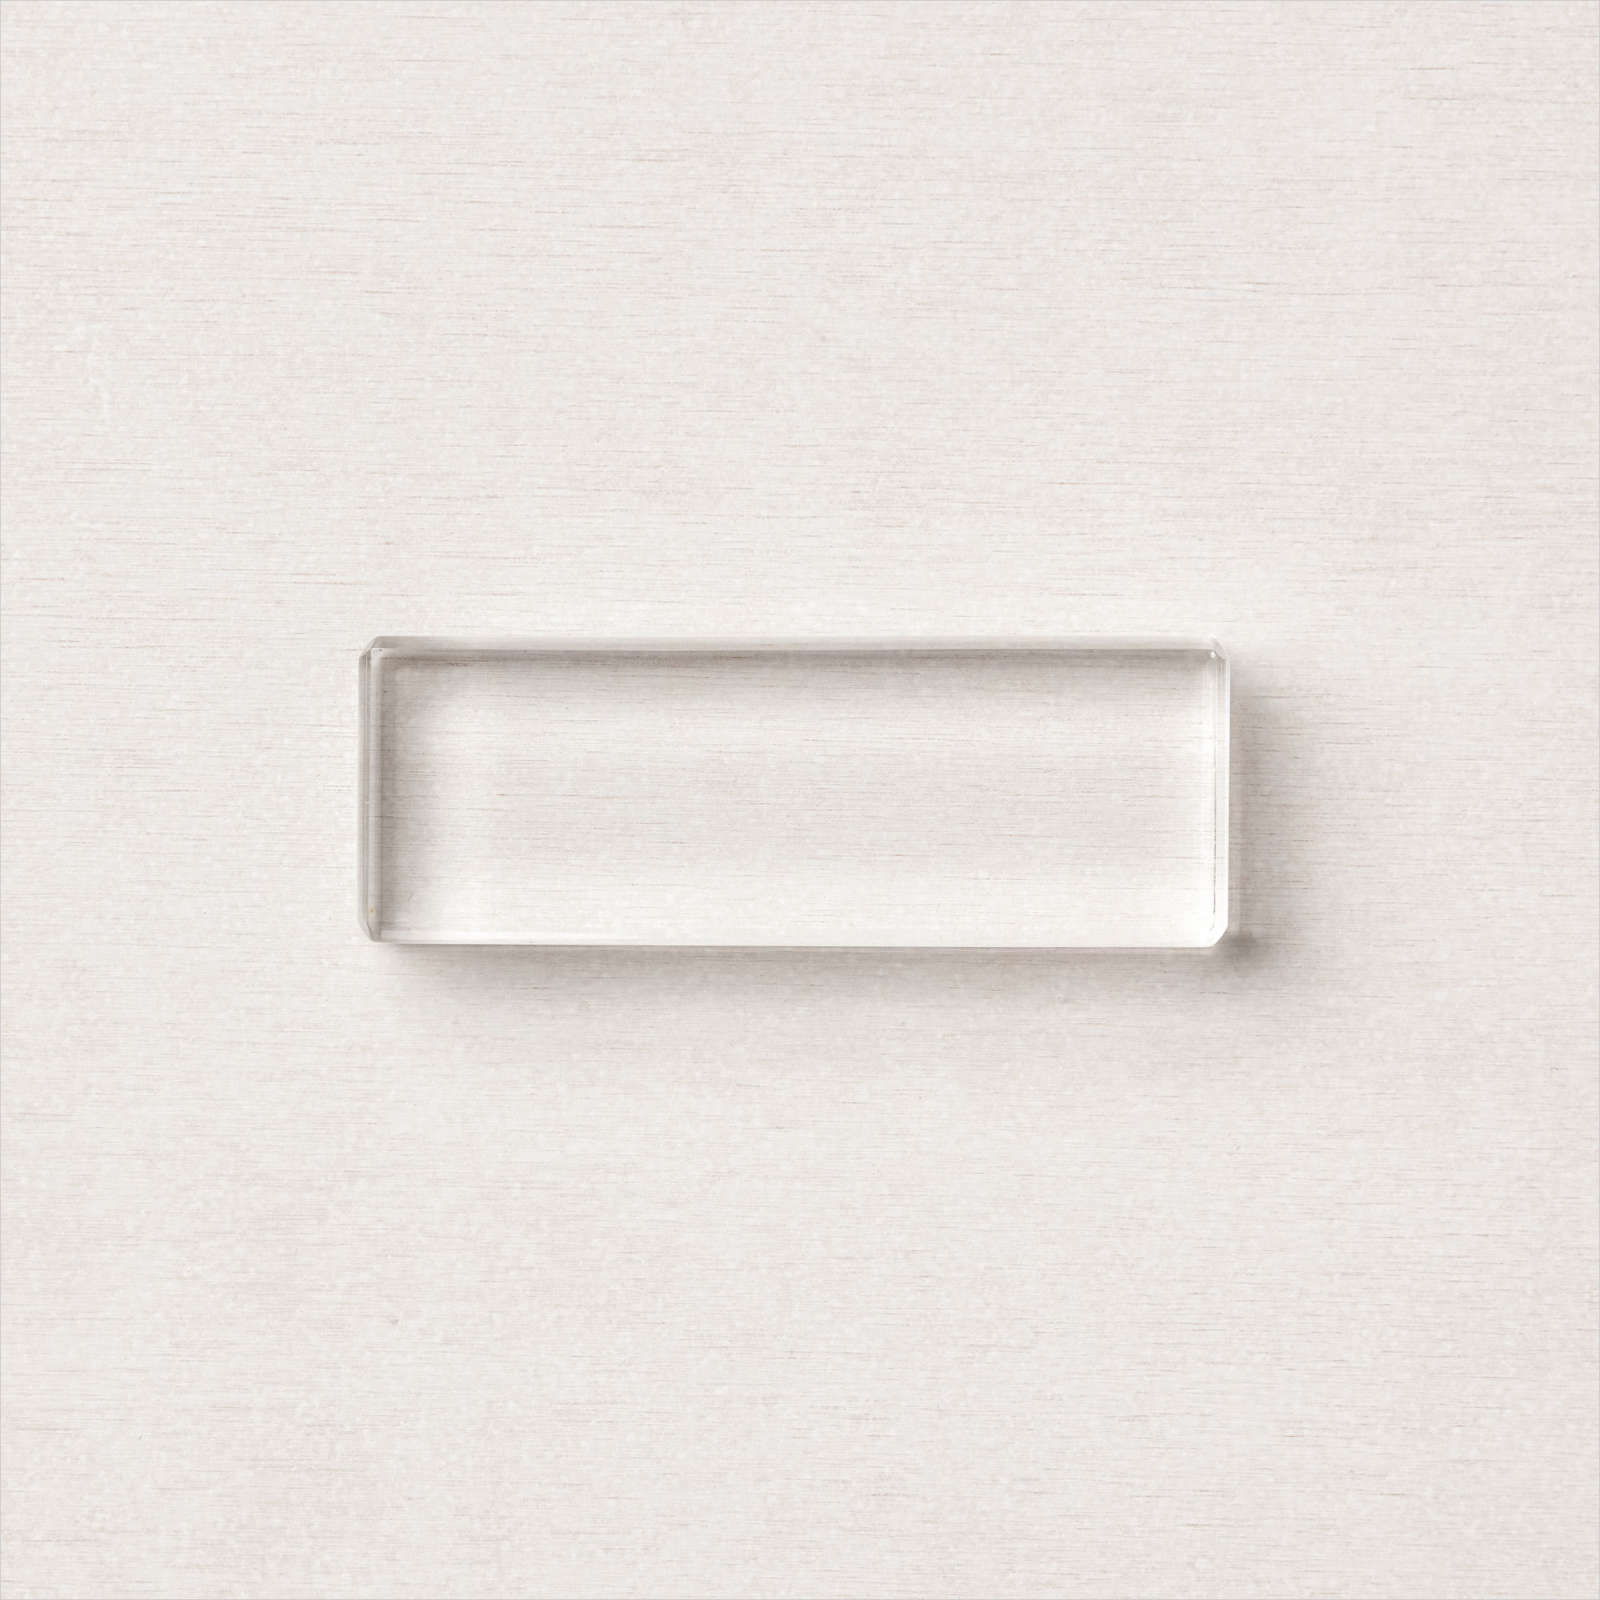
2) Attach the images to a clear block and stamp the ice cream using Calypso Coral ink and Crumb Cake ink for the cone, which has 2 images (2 step stamping).Clean your stamps with water and the Simple Shammy.

3) Punch out your ice cream scoops and cone using the Ice Cream Cone Builder punch.

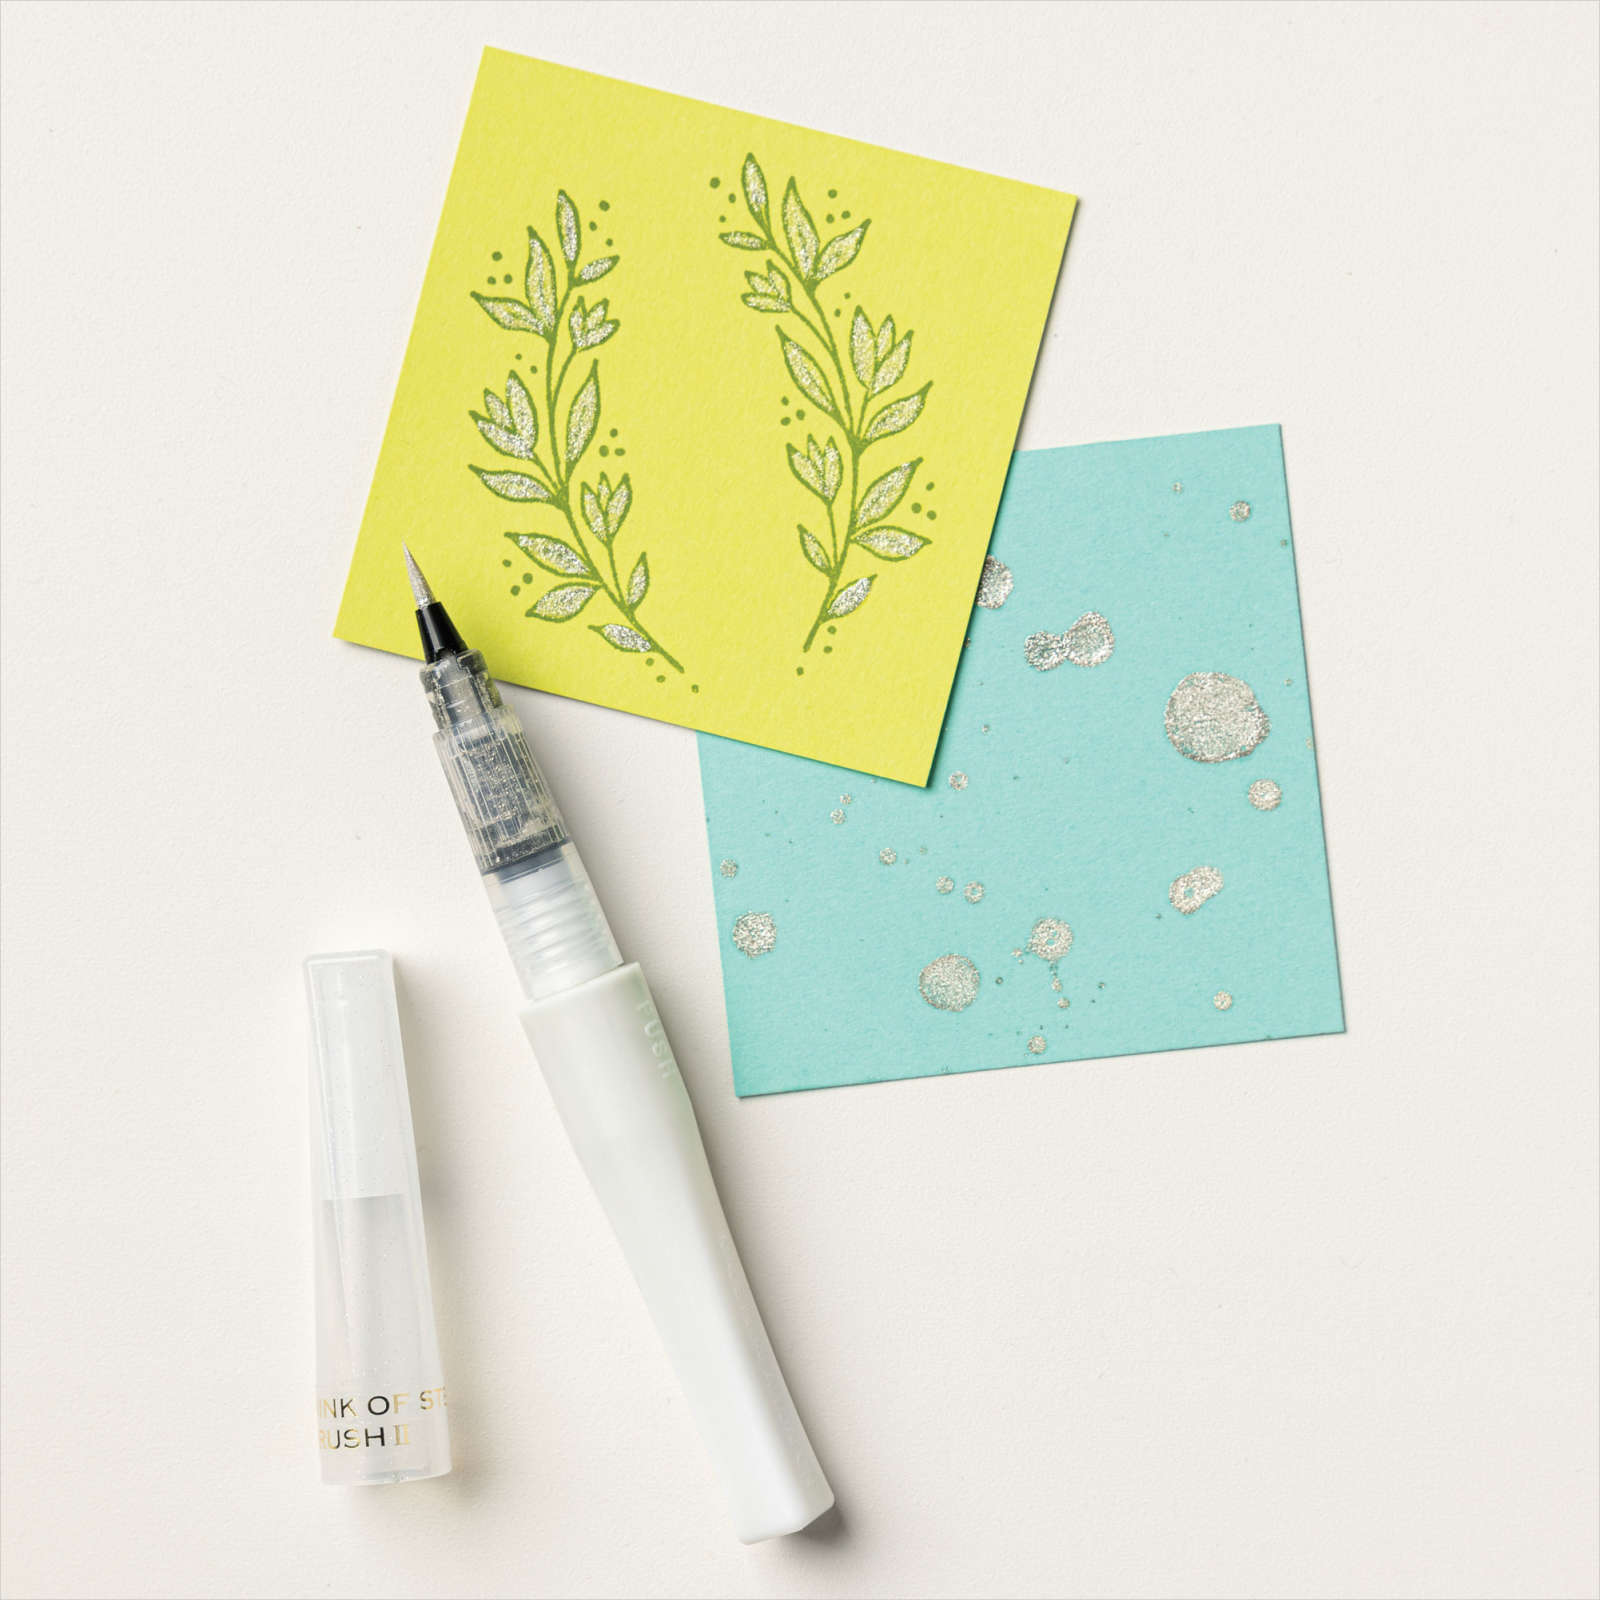
4) Brush the ice cream scoops with a clear Wink of Stella glitter. The ink color will change slightly and be enhanced with sparkle.

5) Attach Stampin’ Dimensionals to the back of the punched pieces when ready to apply. To accommodate overlapping of the ice cream scoops you’ll need to keep dimensionals away from the scallops of the top scoop.

6) Using Calypso Coral ink stamp the sentiment on the white panel. Stamp texture spots by inking the images, stamp on a scrap and then without cleaning the stamp stamp on your panel ( this technique is called stamping off).

7) Using Multipurpose adhesive glue the sentiment panel to the Old Olive panel. Attach Stampin’ Dimensionals to the back of the Old Olive layer.

8) Remove dimensional backings and apply the panel to the Thick white card base. Stamp a coordinating envelope with images from the Sweet Ice Cream stamp set.
Product Used - Simple
Instructions - Step Up
You can find the full Step Up tutorial below but if you prefer to download and print a FREE PDF version you can click HERE.

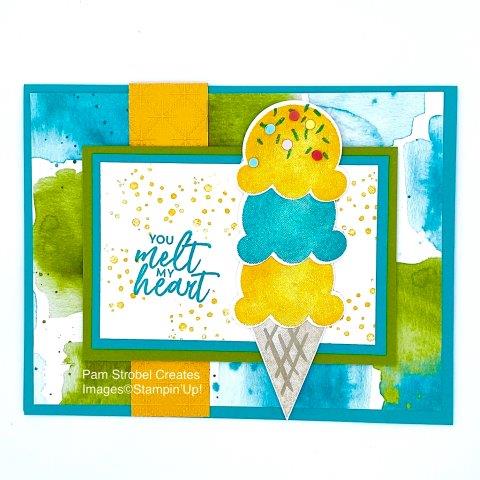
1) Cut a Bermuda Bay card base measuring 8 ½” x 5 ½” , score and fold at 4 ¼” on the 8 ½” side. Cut the designer paper layer 5 ¼” x 4”. Cut an Old Olive layer 4” x 2 ¾” . Cut a Bermuda Bay layer 3 ¾” x 2 ½”. Cut a Mango Melody strip 4 ¼” x 1”. Cut 1 white layer 3 ½” x 2 ¼” and 4 white pieces 2 ¼” x 2 ¼”.

2) Attach the images to a clear block and stamp the ice cream using Bermuda Bay and Mango Melody ink and Crumb Cake ink for the cone, which has 2 images (2 step stamping). Clean your stamps with water and the Simple Shammy.

3) Punch out your ice cream scoops and cone using the Ice Cream Cone Builder punch.

4) Dry emboss the Mango Melody strip using the Dainty Diamonds embossing folder and the Stampin’ Cut & Emboss machine. #149653

5) Attach the patterned paper from the Ice Cream Cone Designer Paper to the Bermuda Bay base. Attach the Mango Melody layer over those two layers.

6) Using Mango Melody ink , stamp texture spots by inking the images, stamp on a scrap and then without cleaning the stamp, stamp on your panel ( this technique is called stamping off). Stamp the sentiment and ice creams sprinkles with Bermuda Bay ink.

7) Using Multipurpose adhesive glue the sentiment panel to the Bermuda Bay layer and then onto the Old Olive panel.

8) Attach Stampin’ Dimensionals to the back of the Old Olive layer.

9) Remove dimensionals and apply the card base maintaining equal distance from the base edges.

10) Brush the ice cream scoops with a clear Wink of Stella glitter. The ink color will change slightly and be enhanced with sparkle.

11) Attach Stampin’ Dimensionals to the back of the punched pieces when ready to apply. To accommodate overlapping of the ice cream scoops you’ll need to keep dimensionals away from the scallops of the top two scoops.

12) Apply small dots of Multi Purpose adhesive to the top ice cream scoop. Drop Ice Cream Corner sprinkles on the drops of glue. Let dry.

13) Build your ice cream cone by applying a small line of liquid adhesive to the back of the scoop scallops building one on top of the other. Now remove the backs of the dimensional pieces and apply to the card front. Stamp a coordinating envelope with Bermuda Bay ink.
Product Used - Step Up
Instructions - Avid
You can find the full Avid tutorial below but if you prefer to download and print a FREE PDF version you can click HERE.

1) Cut a Highland Heather card base measuring 8 1/4” x 4 ¼ ” , score and fold at 5 ½ ” on the 8 ¼ ” side. Cut 1 designer paper layer 4” x 2 ½ ” and 1 piece cut 4”x 1 ¼”. Cut a Pool Party layer 3 ½ ” x 3” . Cut a Highland Heather layer 3 ¼” x 2 ¾”. Cut 1 white layer 4” x 4”. Cut 1 white layer 3” x 2 ½ ” and 4 white pieces 2 ¼” x 2 ¼”.

2) Attach the image to a clear block and ink up the ice cream using Pool Party. Using a Sponge Dauber pick up ink from the Highland Heather and apply directly on the inked up Pool Party. Clean your stamps with water and the Simple Shammy.

3) Stamp the Pear Pizzazz and Calypso coral ice cream and punch out your scoops using the Ice Cream Cone Builder punch. Clean your stamps with water and the Simple Shammy.

4) Stamp Highland Heather Sprinkles on the Pool Party scoop and brush the ice cream scoops with a clear Wink of Stella glitter. The ink color will change slightly and be enhanced with sparkle.

5) Stamp the ice cream cone with Cinnamon Cider ink , which has 2 images (2 step stamping). Punch with the Ice Cream Builder punch.

6) Using Pool Party ink , stamp texture spots by inking the image, stamp and then stamp a second time for a lighter version. Stamp the sentiment with Highland Heather ink. Attach to the Highland Heather layer and then to the Pool Party layer using Multipurpose adhesive.

7) Stamp the Happy Birthday on the 4”x 4” white panel and Pool Party spots as well.Using Multipurpose adhesive glue the sentiment panel to the Highland Heather base. Attach the designer paper next to it.

8) Attach the designer paper to the front panel.

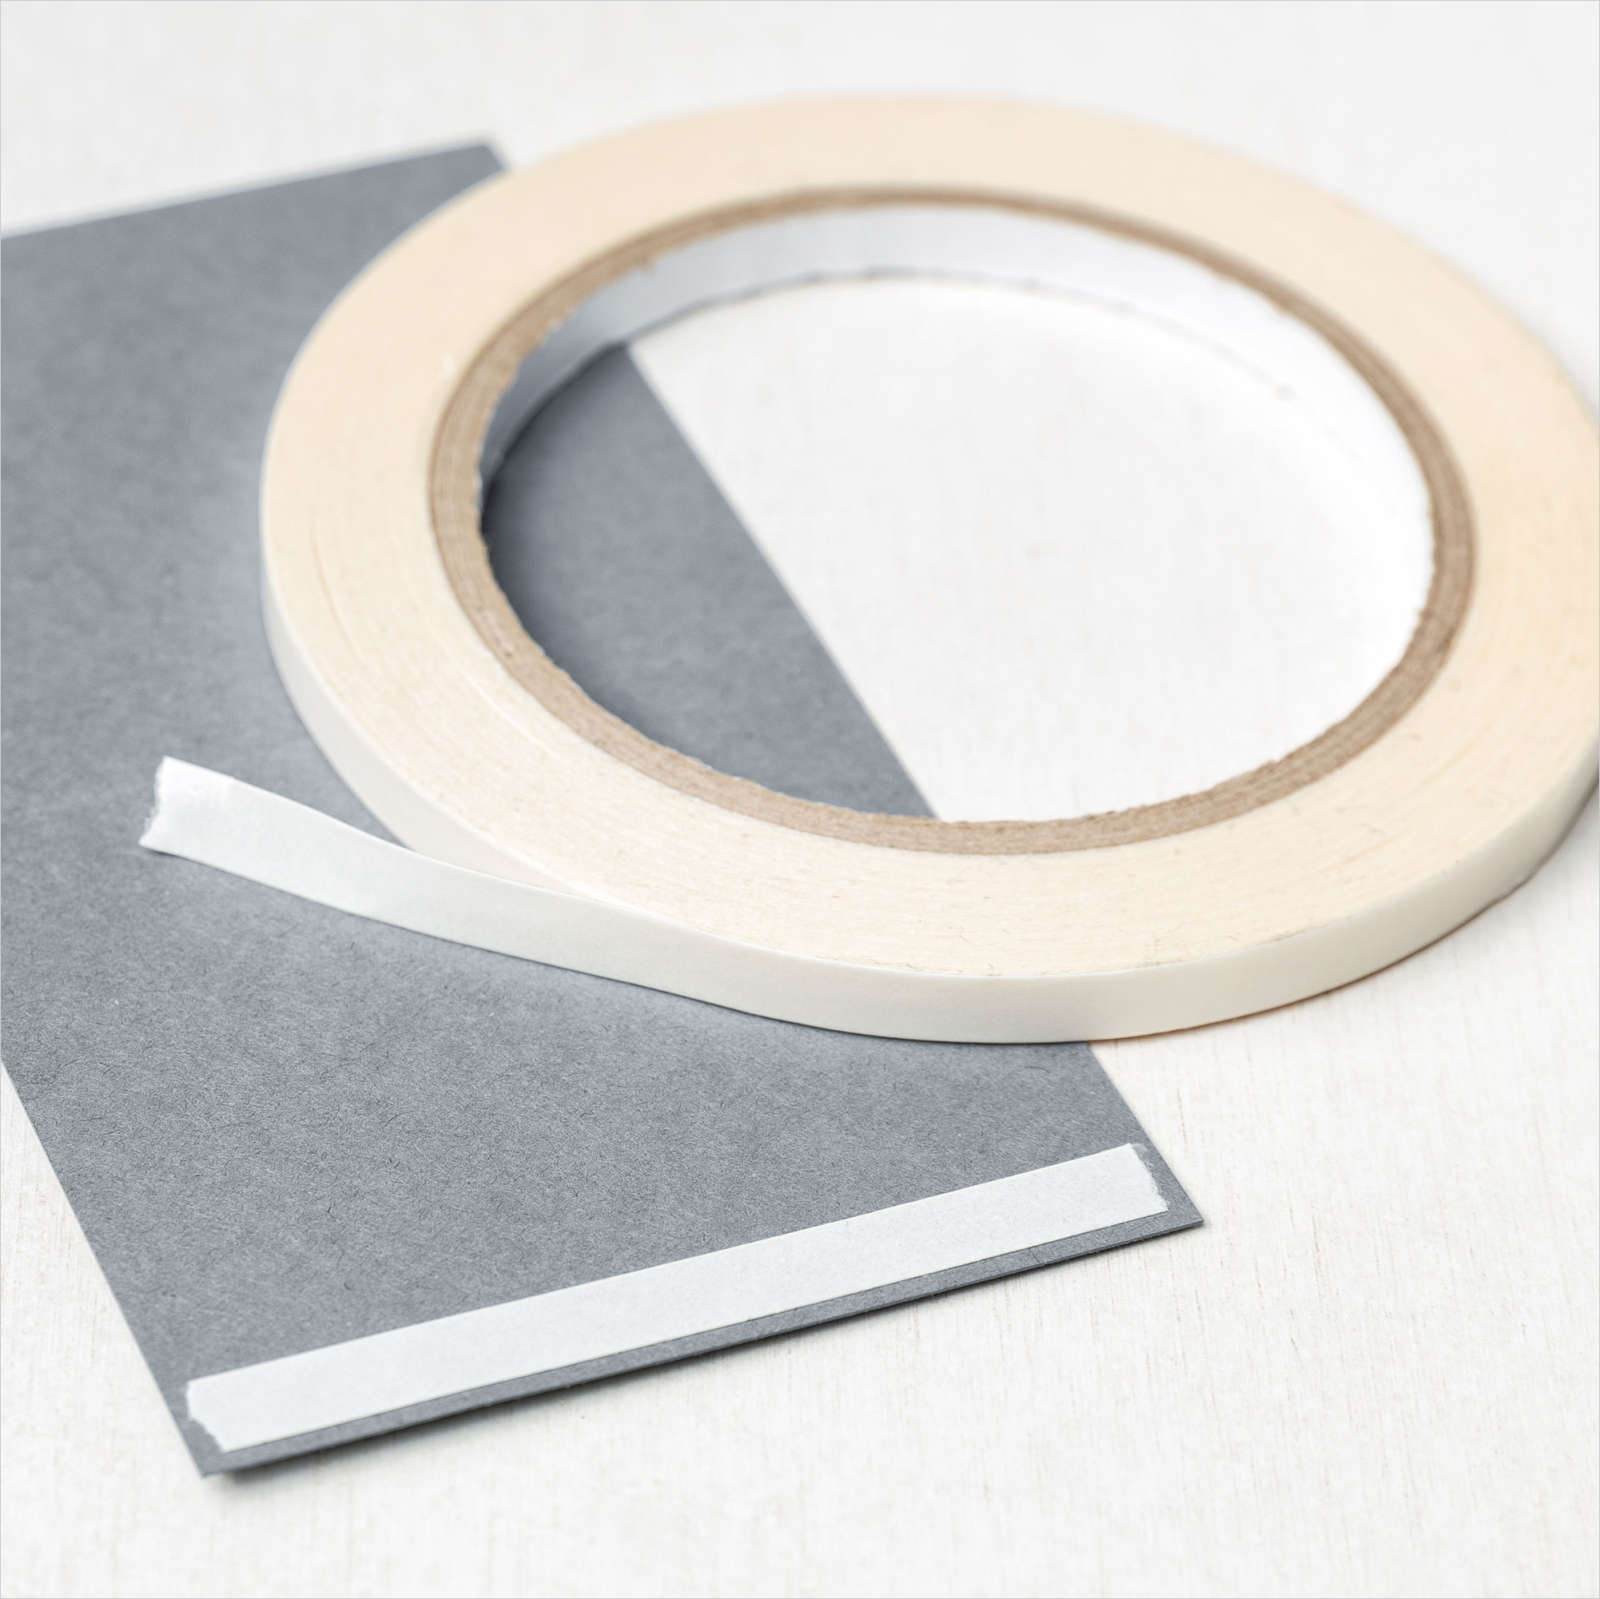
9) Using Tear and Tape on the back side to secure the ribbon, create a swirling piece across the front of the panel.

10) Attach the sentiment panel to the front flap while centering on the front of the entire card. You will probably want to attach an additional white piece on the back of the panel to hide the ribbon attachment.

11) Build the ice cream scoops and cone. I slanted some of my scoops for more whimsey.

12) Attach dimensional to the back making sure no dimensionals will show once you attach them to the front panel.

13) Apply small dots of Multi Purpose adhesive to the top ice cream scoop. Drop Ice Cream Corner sprinkles on the drops of glue. Let dry.

14) Remove the backs of the dimensional pieces and apply to the card front. Stamp a coordinating envelope.
Product Used - Avid
Current Host Code
XGQ73SFG
REMEMBER
Only use the code for orders under $150.00
Articles
Is Paper Pumpkin Worth It?Challenge Yourself to Be a Better Stamper
Beginner Stamping
Intermediate Stamping
Advanced Stamping
5 Reasons Why I Love Designer Series Paper
5 Tips Every Stamper Should Know
Rewards
Collect Pam's Stamping Bucks on every qualifying purchase and redeem your bucks for great rewards.
Read MorePaper Pumpkin

Subscribe to Paper Pumpkin, a monthly card making kit delivered right to your door.
Find Out MoreInspiration Gallery
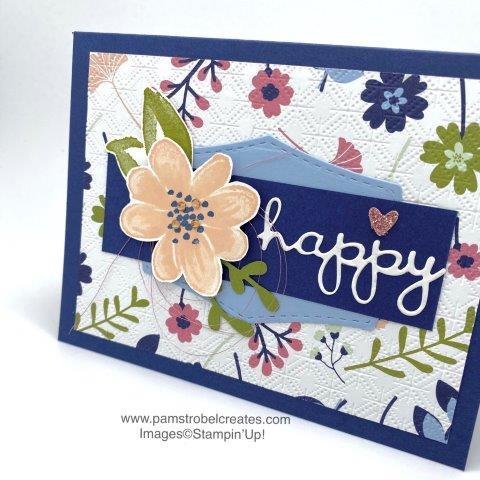
Visit the Inspiration Gallery to see examples of finished cards. You are bound to find something that inspires you!
Get Inspired!Value Stamp Sets
Explore stamps sets which are $18 or under. Great product for great prices!
Explore Stamp SetsLet's Stay Connected
Subscribe

Join my email list to find out my tips, project card measurements and supplies, color coordination, and mini tutorials.
Click here to BeginThe Mini Store
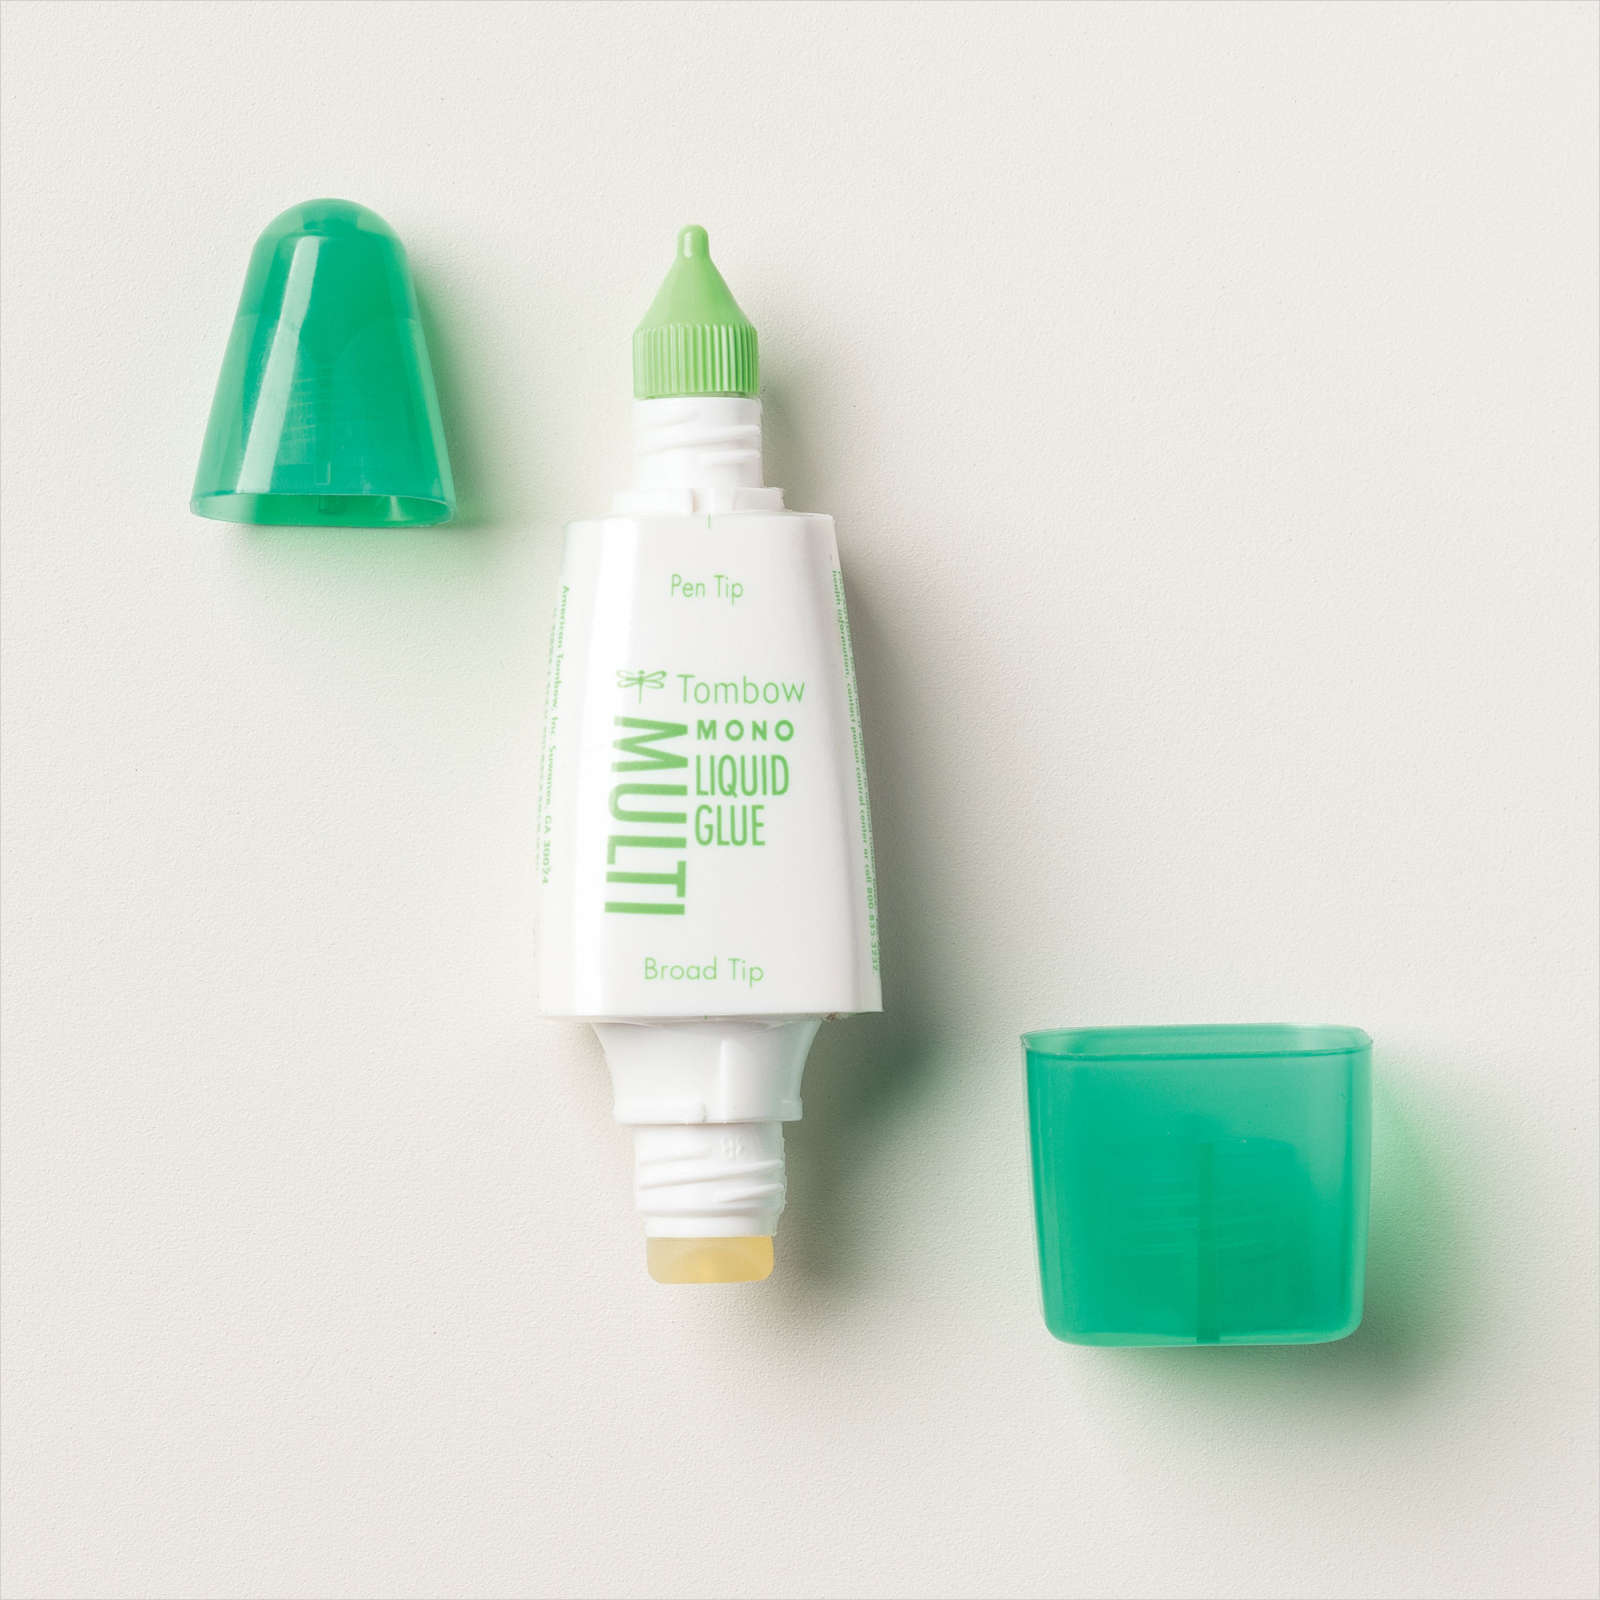
The Mini Store has great product combinations for an easy shopping experience. Come check it out!
Visit the Mini StoreThe DSP Shop
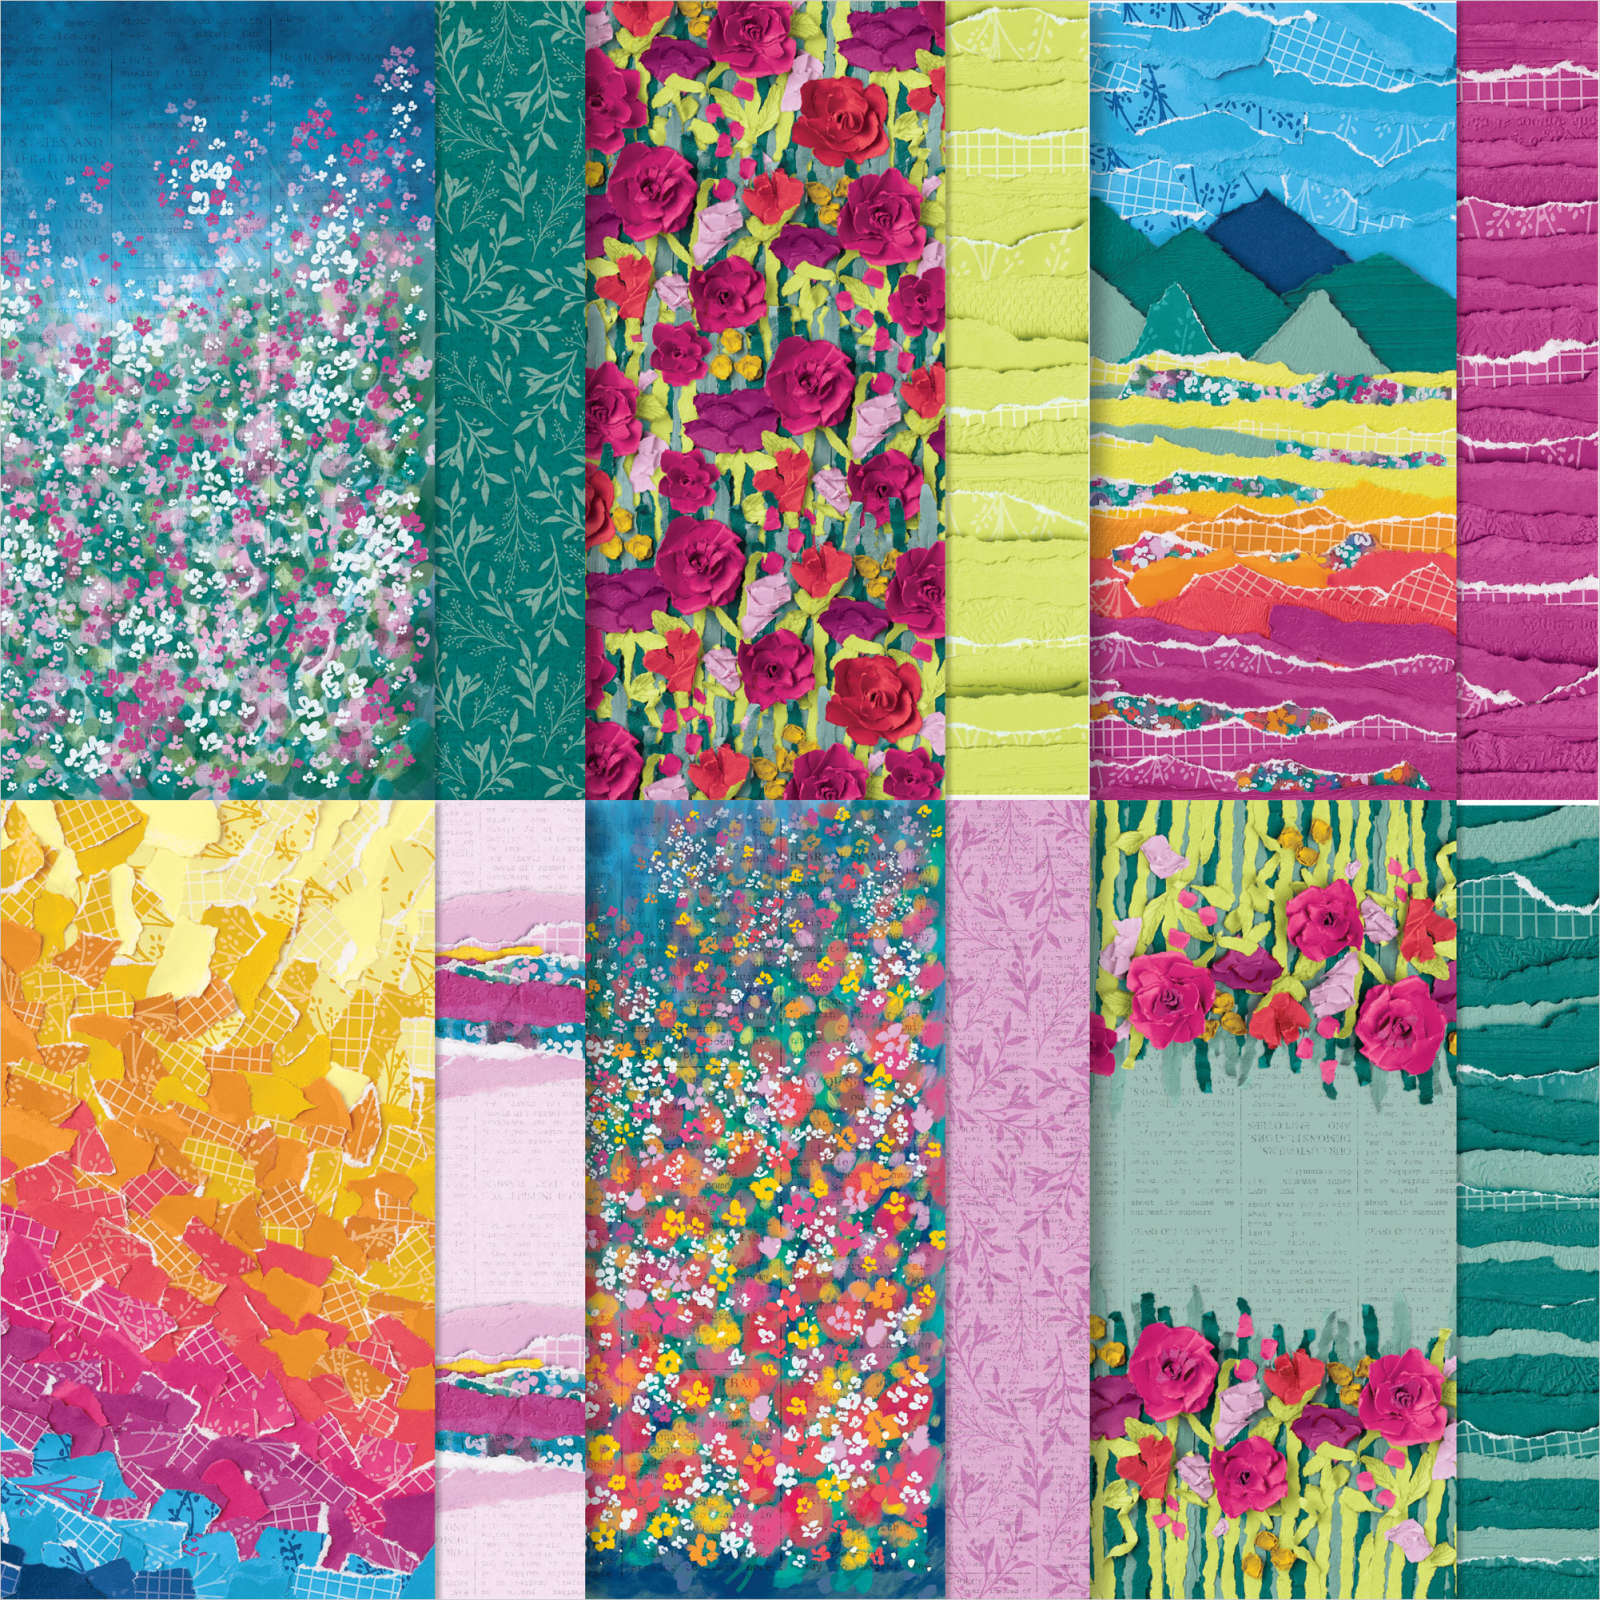
The Designer Series Paper (DSP) Shop combines the best DSPs with their matching card stock. Fun and easy!
Explore DSP Shop